Gardening is one of the most rewarding hobbies, not only for the joy it brings but also for the satisfaction of creating something beautiful with your own hands.
One of the best ways to turn a sloped area into an eye-catching landscape is by designing a terraced garden.
If you’ve ever wanted to enhance your garden by utilizing a hilly or uneven plot of land, a terraced garden design could be the perfect solution.
Table of Contents
the Basics of Terraced Garden Design
A terraced garden design is essentially a series of steps or layers that break down a sloped area into manageable, flatter sections. This technique is great for preventing soil erosion and making the garden easier to work with.
By creating a series of levels or platforms, you allow plants to flourish by controlling water drainage, providing enough sunlight, and creating aesthetically pleasing sections.
In my experience, starting with a clear vision of how you want the terraces to look is key. It’s essential to think about the materials you want to use, such as stone, wood, or brick, and decide how each level will be planted.
Whether you’re creating a formal garden or something more rustic, the choice of materials will significantly impact the final aesthetic.
Step 1: Assess the Slope of Your Land
Before diving into the construction of a terraced garden, take the time to evaluate the land. The slope of the area is a crucial factor in the planning process. For steeper areas, you might need higher retaining walls to support the levels.
On gentler slopes, smaller steps may suffice.
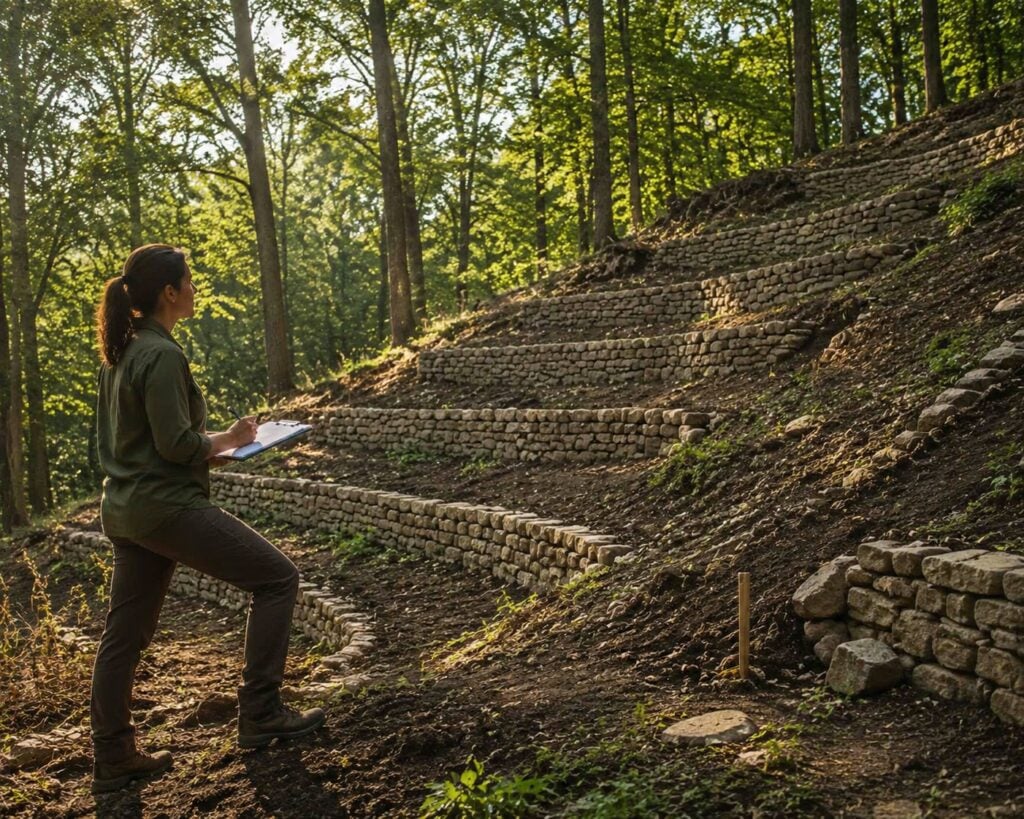
In my case, I started by measuring the height difference between the highest and lowest points of my slope. This gave me a rough idea of how many steps I would need.
I also considered the natural flow of water and how the terrain might influence drainage and plant health.
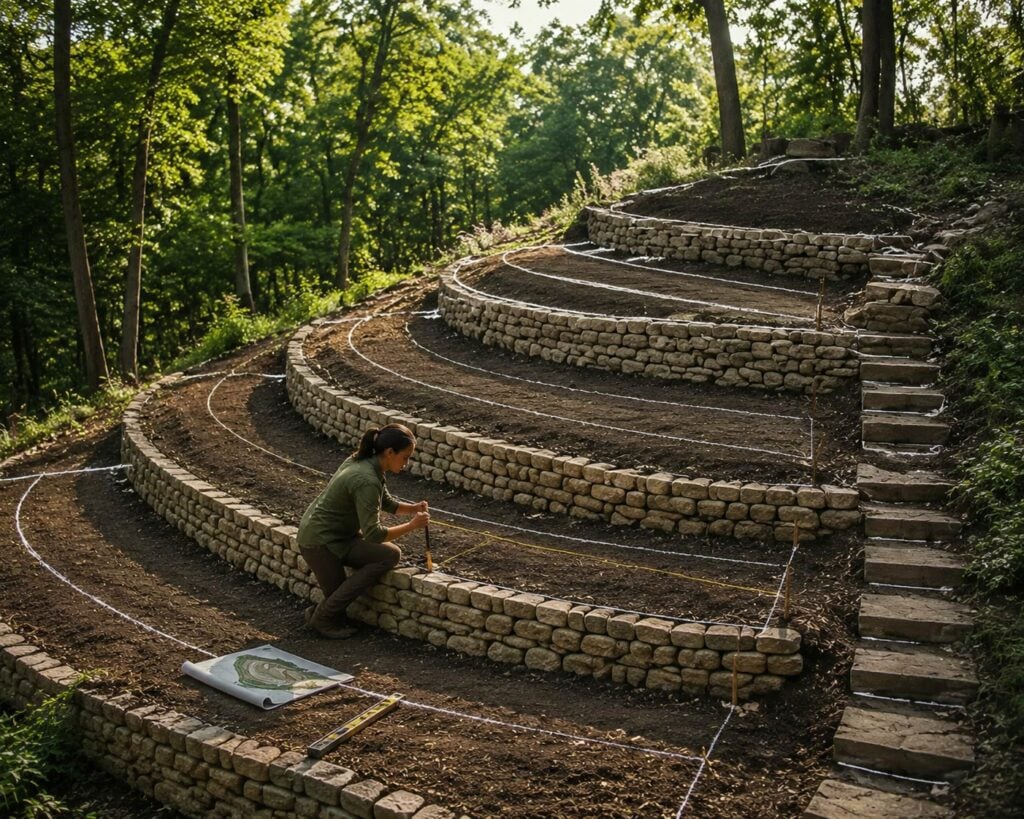
Step 2: Plan the Terraces
Once you’ve assessed the slope, it’s time to plan out your terraced garden design. Start by sketching out the layout and deciding how many levels you want. Each level should be wide enough to allow plants to grow, but not so wide that it becomes difficult to manage.
I like to think of each tier as its own little garden, with distinct plantings and textures that will complement one another.
For instance, in my terraced garden, the first level closest to the ground was filled with small shrubs and creeping plants that thrived in slightly shaded conditions.
The middle tiers featured flowers and vegetables that needed more sun. Finally, at the top, I placed tall trees that could thrive in the sunlight.
Step 3: Build the Retaining Walls
Building the retaining walls is the next step. Depending on the size of your garden and the materials you choose, this could be as simple as stacking stones or as complex as installing a reinforced structure.
For my project, I used natural stone because it blended seamlessly with the surrounding landscape and provided a timeless look.
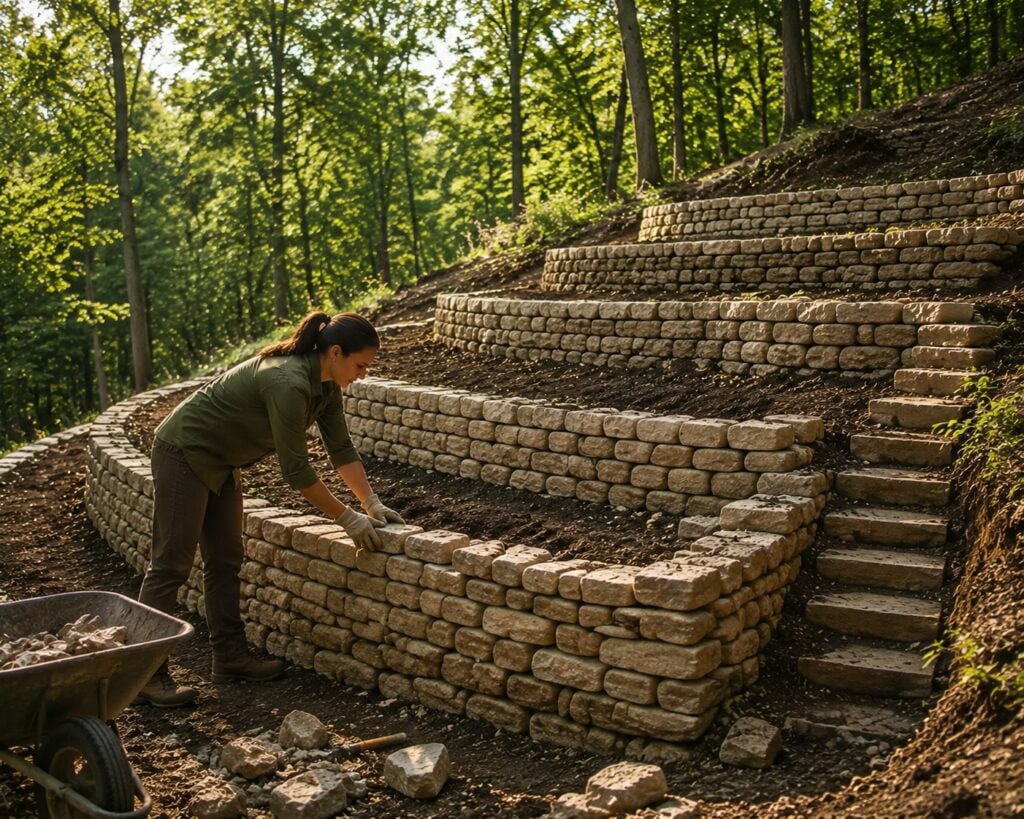
If you’re using stone or brick, make sure each layer is level to ensure proper support for the next tier. I learned that laying a solid foundation is critical—if the walls aren’t sturdy, the terraces can collapse over time, so be patient with this step.
The walls should also be slightly slanted backward for added stability.
Step 4: Add Drainage to Prevent Erosion
One of the primary benefits of a terraced garden is its ability to prevent soil erosion, but only if it’s designed with proper drainage. You’ll want to incorporate a drainage system that can direct excess water away from the garden.
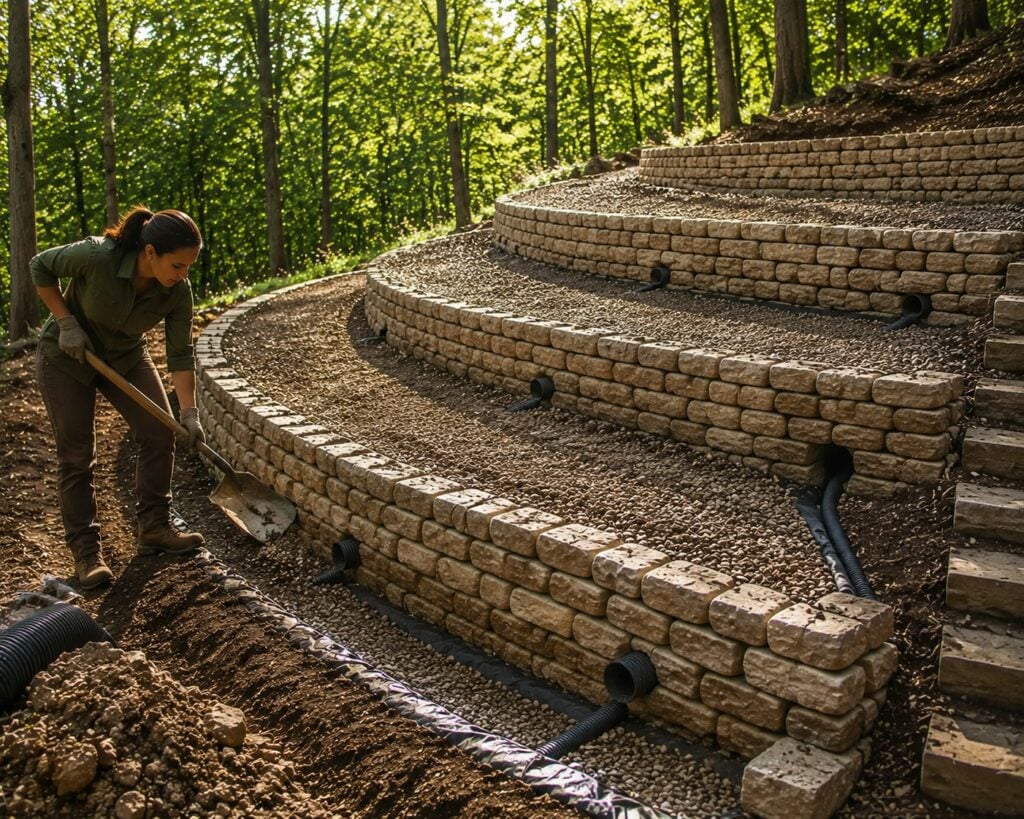
I added perforated pipes along the back of each retaining wall, covered them with gravel, and placed a layer of landscaping fabric to prevent soil from washing away.
In addition, I made sure each terrace had a slight slope (toward the back) to encourage water to drain evenly. This kept the soil from becoming waterlogged, especially after a heavy rainstorm.
Step 5: Planting Your Terraced Garden
Once the terracing structure is in place, it’s time to plant! This is the part where your garden really comes to life. Start by selecting plants that will thrive in each specific terrace.
In shaded areas, choose shade-loving plants like ferns or hostas, and in sunnier spots, opt for plants like lavender, daisies, or sunflowers.
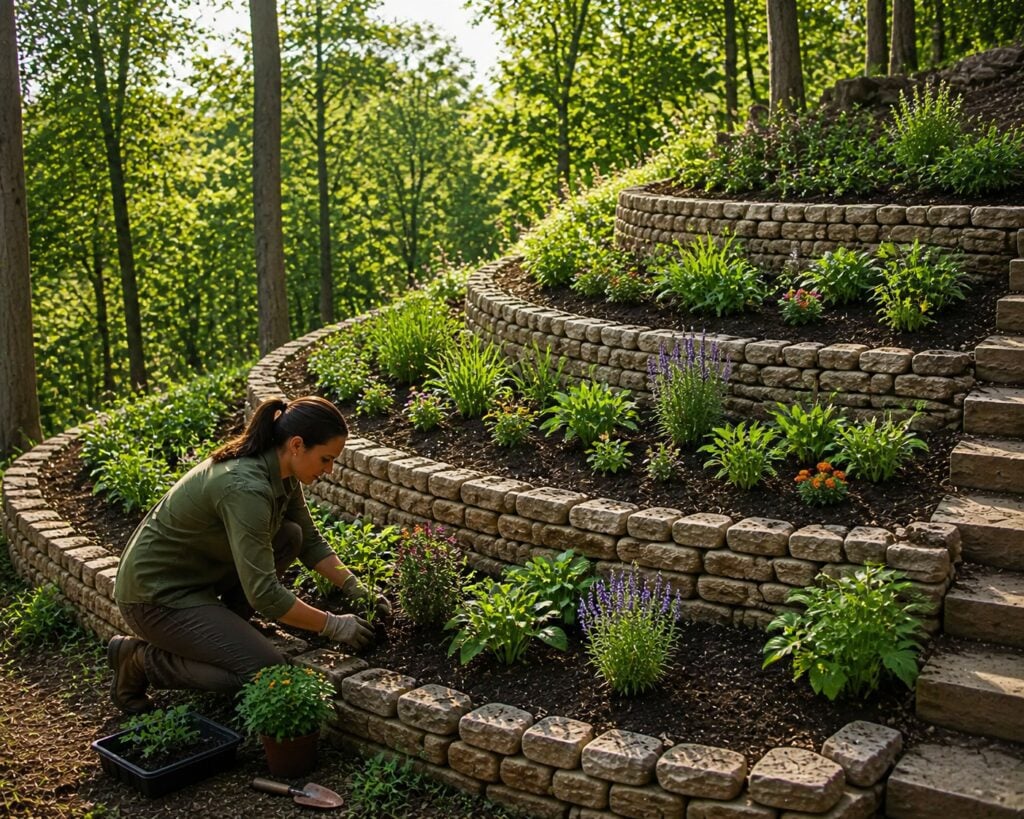
I recommend creating different textures by mixing ground covers, taller plants, and flowers. For example, I used creeping thyme between the stone layers for a soft, fragrant carpet.
On the higher levels, I planted sunflowers and ornamental grasses, which added height and movement to the space.
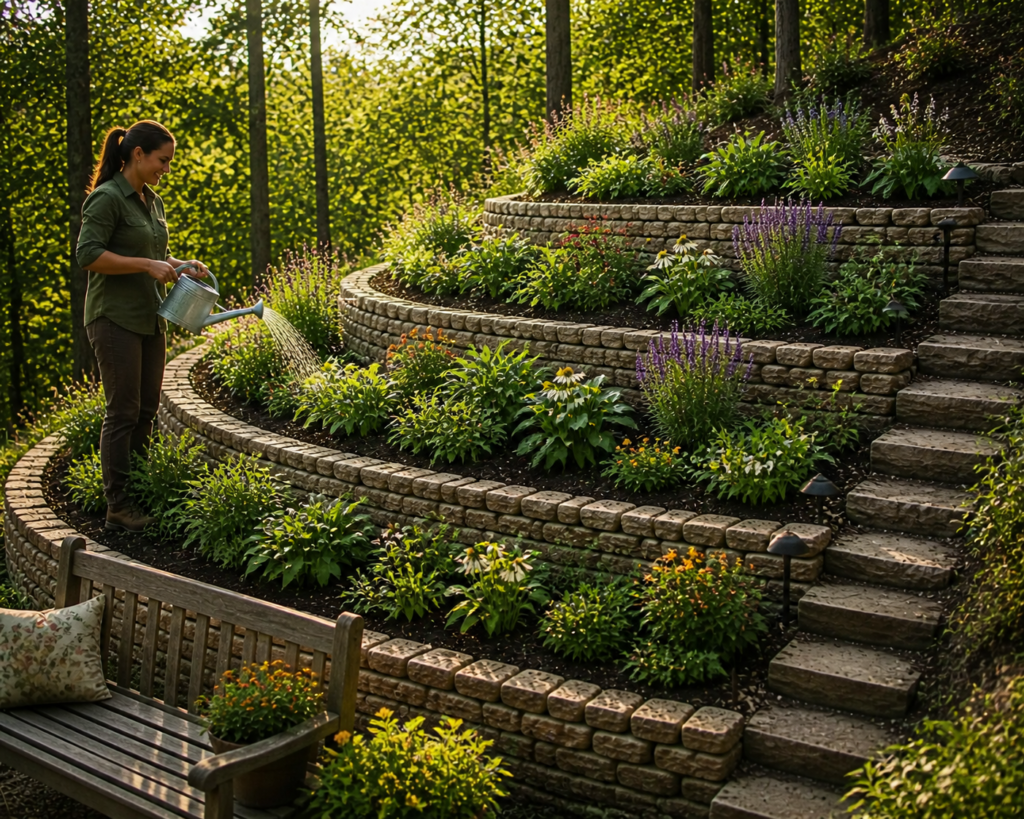
Step 6: Maintain and Enjoy
As with any garden, maintaining your terraced garden will require ongoing care. This includes regular watering, pruning, and weeding to keep things looking neat and healthy.
For my garden, I found that the steps provided a natural division, which made it easier to tend to each area individually.
Additionally, if you’re using a terraced garden for growing vegetables or herbs, it’s important to rotate your crops and amend the soil regularly to keep it rich and fertile.
Benefits of a Terraced Garden
Terraced gardens come with several benefits. One of the most significant advantages is the way they help prevent soil erosion. This is particularly important in areas with heavy rainfall or steep slopes.
The stone steps also add structure and visual interest, turning an ordinary garden into a work of art.
Furthermore, terracing makes it easier to garden in areas that would otherwise be difficult to manage. The flat, level surfaces give you more space to plant, and the division between the tiers allows for better organization and planning of your plants.
Conclusion
Building a terraced garden may require a bit of effort, but the results are more than worth it. Not only do you get a beautiful garden, but you also create a functional space that supports healthy plant growth and reduces the risk of erosion.
From planning the design to planting the final plant, this project has been one of the most rewarding things I’ve done in my garden.


