A living willow tunnel is one of those rare garden projects that feels both simple and extraordinary. At first, it looks like little more than two rows of dormant sticks pushed into wet ground.
But if the timing, soil moisture, and aftercare are right, those cuttings can root, leaf out, and gradually knit together into a shaded green corridor that becomes stronger and more beautiful with every season.
Willows are widely used in restoration and bioengineering because dormant stems can root directly in moist soil and grow quickly once established.
This matters beyond garden aesthetics. Living structures fit into a much bigger conversation about nature based design, climate adaptation, and lower material landscaping.
Table of Contents
What a Living Willow Tunnel Actually Is?
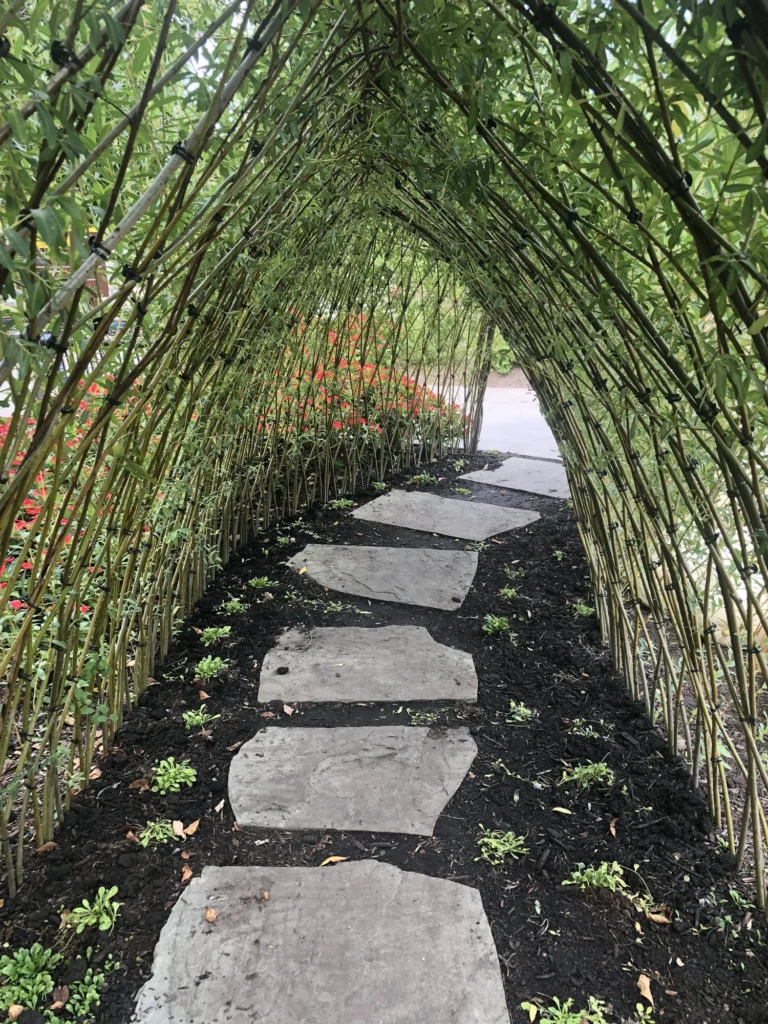
A living willow tunnel is a planted framework made from dormant willow rods, often called whips, arranged in two parallel rows and bent toward each other to create an arch.
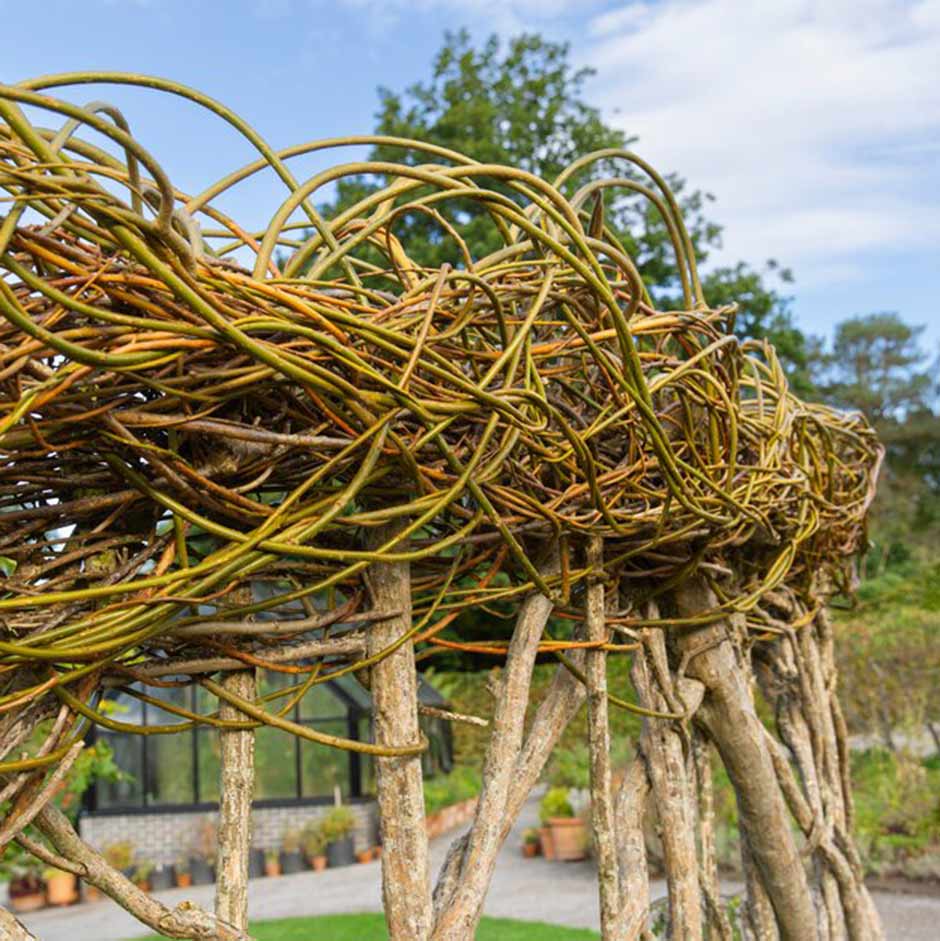
As the rods leaf out and thicken, the stems can be tied and woven so they eventually inosculate, meaning they naturally graft or fuse where living tissues stay in contact.
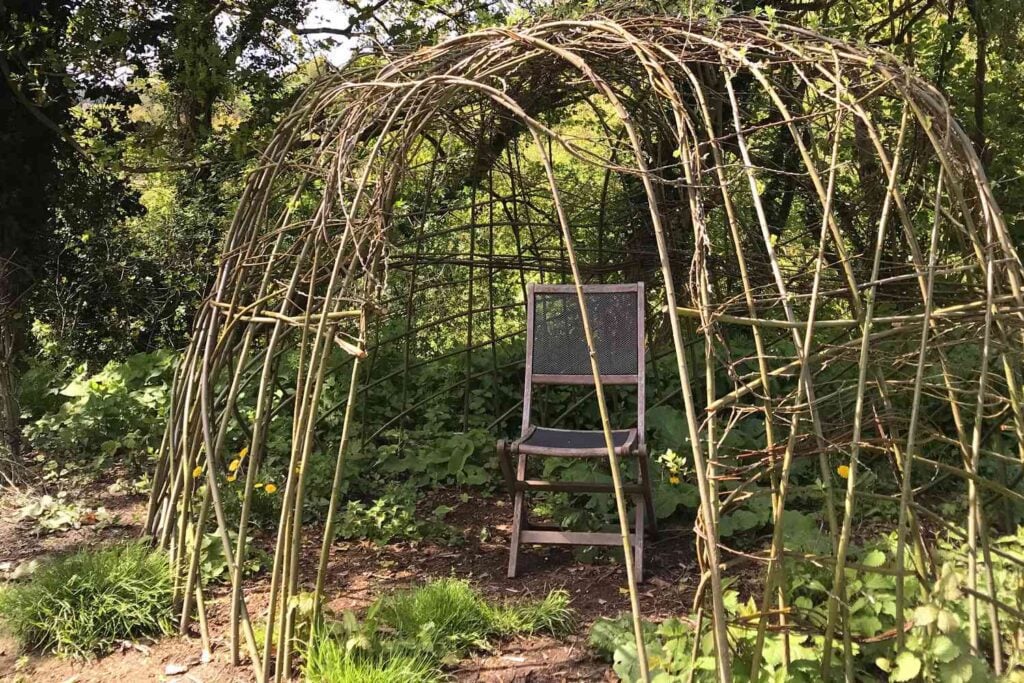
That is why the structure can shift from a temporary framework into actual living architecture over time.
Willow has been used this way for practical craft, land restoration, and designed landscapes because it is vigorous, flexible, and unusually easy to propagate from stem cuttings.
The appeal is obvious. Instead of lumber, fasteners, and concrete, the structure is made from renewable stems that continue growing after installation. Supporters see this as a low material, high beauty alternative to conventional garden construction.
Designers and educators who work with living willow often point to its value as a play space, garden destination, and habitat feature. At the same time, critics note that willow is not a carefree choice.
It is moisture hungry, fast growing, and in some regions ecologically risky if planted carelessly near waterways or sensitive habitats.
Step 1: Choose the Right Site Before You Plant
The success of a willow tunnel is decided long before the first cutting goes into the ground. Willow wants full light and reliable moisture.
Research and extension guidance consistently show that willow cuttings establish best when inserted into moist soil, and in restoration settings they are often driven deep enough to reach dependable subsurface moisture.
Full light is also important for sustained growth.

For a home garden tunnel, that means choosing a site with sun for most of the day and soil that stays evenly damp, especially through spring and early summer.
Avoid spots close to drains, septic systems, foundations, and paving that could be disturbed by aggressive roots over time. Also check local invasive plant guidance before selecting a variety.
In Australia, for example, many willow types are treated as invasive weeds in waterways and wetlands because broken pieces can re root and spread. That does not mean a willow tunnel is always inappropriate, but it does mean local rules and local ecology matter.
Step 2: Select Suitable Willow Varieties and Cuttings
The varieties in your outline are strong candidates for structural planting. Salix viminalis is the classic basket willow because it grows fast and produces long, flexible rods.
Golden and scarlet types are often chosen because their winter stem color keeps the structure attractive even when leafless.
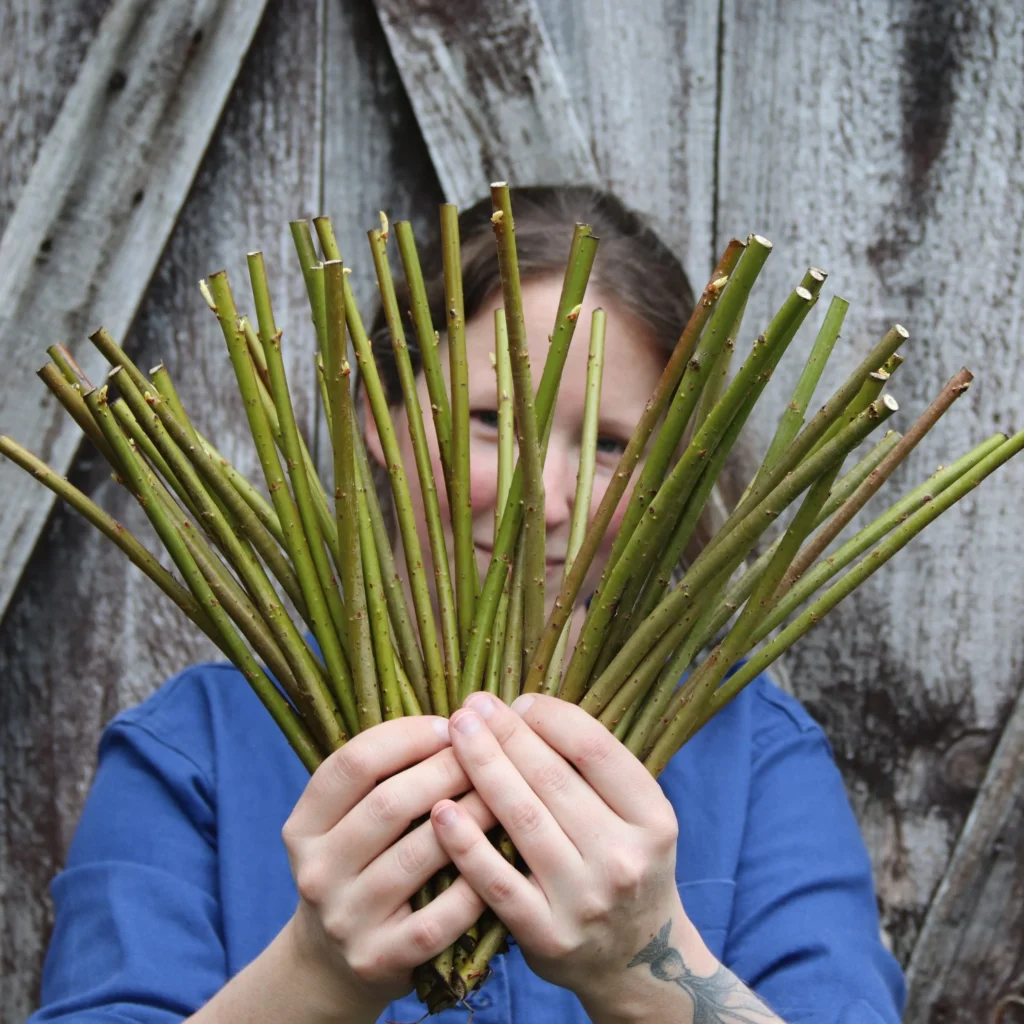
Dormant willow cuttings are typically taken during winter or early spring, before bud break, and must be kept cool and moist so they do not dry out.
For your tunnel, rods about 3 to 5 feet long and about pencil thickness are realistic for a lightweight garden installation. Straight, healthy one year rods are easiest to work with.
If you are buying or cutting your own, make sure the polarity stays correct when planting, with the original base end pushed into the soil.
Extension guidance for hardwood cuttings recommends putting at least a third of the cutting below ground, which aligns well with the plan to bury about 8 inches if your rods are in the 3 to 5 foot range.
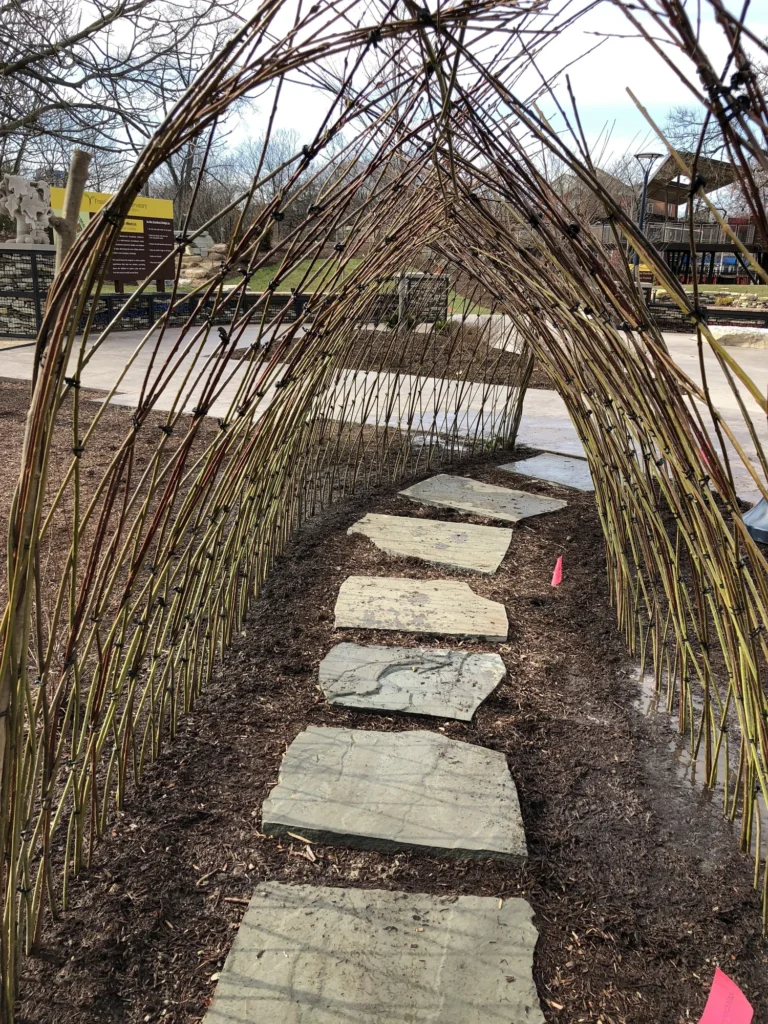
Step 3: Lay Out the Tunnel and Plant It Properly
Mark two parallel rows about 3 feet apart and 8 to 10 feet long. This width is enough for a narrow walk through tunnel while still allowing the rods to arch together overhead.
Space the cuttings evenly within each row.
Push each cutting roughly 8 inches into moist soil, firming the ground around it so there are no air gaps. In heavy or compacted ground, a metal rod or dibber can help make pilot holes without shredding the bark.
Planting during late winter to early spring is the safest window because the stems are still dormant and the soil is usually moist.
First leaves often appear within weeks once temperatures rise, but exact rooting speed depends on temperature, moisture, and the condition of the cuttings.
General propagation guidance is careful not to promise one exact timeline for every site, but it does confirm that consistent moisture is the key factor and that cuttings begin rooting as they anchor and resist a gentle tug.
Step 4: Weave the Tops and Train the Structure
Once the rows are planted, bend opposite rods toward one another to create repeated arches, then tie crossing points with natural twine or other soft ties.
As new shoots extend, weave them into the framework rather than letting the tunnel become a loose thicket.
This training stage is where the project changes from planting to architecture. The first season is about direction. The second and third seasons are about thickening, refining the tunnel shape, and encouraging stems to touch long enough to fuse.
A supportive view is that this training process creates a deeply participatory garden feature. It asks the gardener to collaborate with growth rather than impose a finished static form.
A more critical view is that a willow tunnel is not really a one afternoon project if you count the follow up.
The planting may be quick, but the structure still needs tying, pruning, and monitoring during establishment. People who expect instant perfection are often disappointed.
People who enjoy seasonal shaping usually love it. This difference in expectation is one of the biggest reasons some living structures succeed and others fail.
Step 5: Manage the Real Problems Early
The problems in your outline are grounded in real willow biology. Browsing can be serious during establishment.
Studies and technical guidance show that deer and other herbivores can substantially reduce willow growth, which is why fencing or exclusion is often recommended until plants are large enough to tolerate damage.
Aphids are also common on willows. Some species cause limited damage, but heavy colonies can distort fresh growth and produce sticky honeydew.
Beneficial insects often help keep them in check, and non chemical control such as a strong water spray is commonly recommended before escalating treatment.
Willow leaf beetles are a more serious foliage pest because adults and larvae chew and skeletonize leaves. Extension and RHS guidance recommend monitoring, hand removal where practical, and targeted treatment only when infestations are severe.
The biggest cultural issue is drying out. Willow is famous for rooting in wet soil for a reason. If the site dries repeatedly during the first growing season, failure rates rise fast.
Mulch helps reduce evaporation, and weekly deep watering is usually more useful than frequent light sprinkling.
In real gardens, the difference between success and disappointment is often not variety choice but water management during the first year.
Real World Impact and Why People Build Them
For households, a willow tunnel can function as a play space, shaded path, seasonal focal point, wildlife shelter, or outdoor classroom. For communities, similar living structures are used in school gardens and public landscapes because they combine ecological learning with hands-on making.
The wider environmental case for planted structures is also growing stronger: greening projects are increasingly linked with cooling, stormwater benefits, habitat creation, and better urban well being.
Still, there are fair criticisms.
A willow tunnel is not the best fit for arid sites, tiny yards with buried services, or ecologically sensitive areas where non native willow planting is discouraged.
Monoculture planting can also reduce resilience if pests or drought hit hard.
Research on nature based solutions increasingly stresses that green interventions work best when they are matched to place, climate, water availability, and biodiversity goals rather than copied as a trend.
Final Thought
A living willow tunnel is both garden craft and ecological design. The basic steps are straightforward: plant dormant willow whips in two moist parallel rows, push them deep enough to stay hydrated, bend and tie the tops into arches, then keep the soil moist while the stems root, leaf out, and begin to fuse.
The beauty of the method is that the raw material is alive. The challenge is that living material has needs, limits, and consequences.
Looking ahead, projects like this are likely to remain popular because they sit at the intersection of beauty, sustainability, and climate conscious design.
But the future of living structures will probably depend on smarter plant selection, better local regulation, and more region specific guidance, especially in places where water stress or invasive willow spread are real concerns.
Done thoughtfully, a willow tunnel can be more than a backyard feature. It can be a small working example of how gardens may increasingly blend structure, ecology, and long term care into one living form.


