For a long time, I looked at fallen trees and large logs the same way most people do—as something to remove, cut up, or get rid of as quickly as possible. In my early gardening years, logs meant work: hauling, chopping, or stacking them somewhere out of sight. That changed once I started experimenting with reusing natural materials directly in the garden.
One of the most satisfying projects I’ve worked on is turning a fallen log into a planter. Not only does it solve the problem of waste, but it also creates a feature that feels permanent and intentional.
Over the years, I’ve made and maintained several log planters, and I’ve learned that when they’re done properly, they don’t just look good—they work extremely well.
What I like most about log planters is that they don’t compete with the garden. They don’t draw attention away from the plants. Instead, they support them quietly while blending into the space.
Table of Contents
- Why I Keep Coming Back to Log Planters?
- Choosing the Right Log: Lessons Learned the Hard Way
- Placing the Log Before Doing Anything Else
- Hollowing the Log: What Actually Works
- Drainage: The Step You Cannot Skip
- Lining the Interior to Extend Its Life
- Soil Choice Based on Experience
- Choosing Plants That Actually Thrive
- Planting and Ongoing Care
- What This Project Taught Me?
Why I Keep Coming Back to Log Planters?
After trying different types of containers (plastic pots, ceramic planters, metal troughs), I noticed that logs behaved differently. They stayed cooler during hot days and didn’t dry out as unevenly as thin containers. They also stayed put.
I never had to worry about them tipping over or shifting after heavy rain.
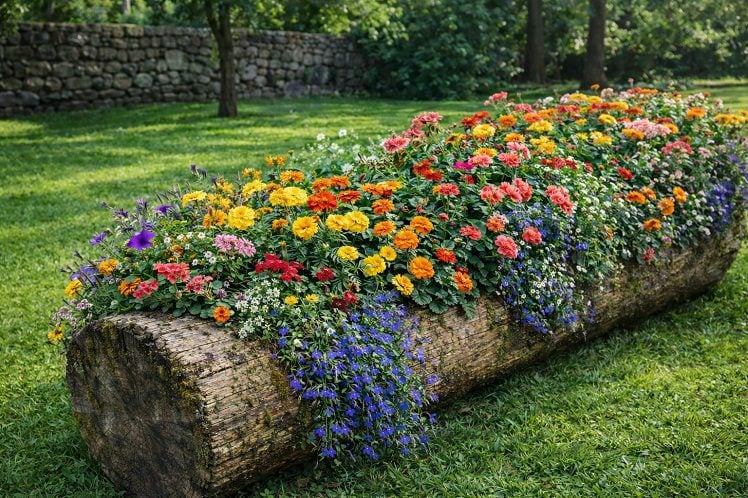
Another thing I noticed over time is how naturally people respond to them. Visitors often assume the log has always been there. They rarely see it as a “project.” It simply looks like part of the landscape.
From my experience, log planters work especially well in gardens that aim for a natural or relaxed look. They age slowly, and instead of looking worn out, they usually look better as the wood weathers.
Choosing the Right Log: Lessons Learned the Hard Way
Not every log makes a good planter. I learned this through trial and error.
Early on, I tried using logs that were too small. They looked fine at first, but once hollowed out, the walls were too thin. Within a season or two, cracks appeared, and the structure weakened.
Since then, I always look for logs at least 12 to 14 inches in diameter. That extra thickness makes a big difference.
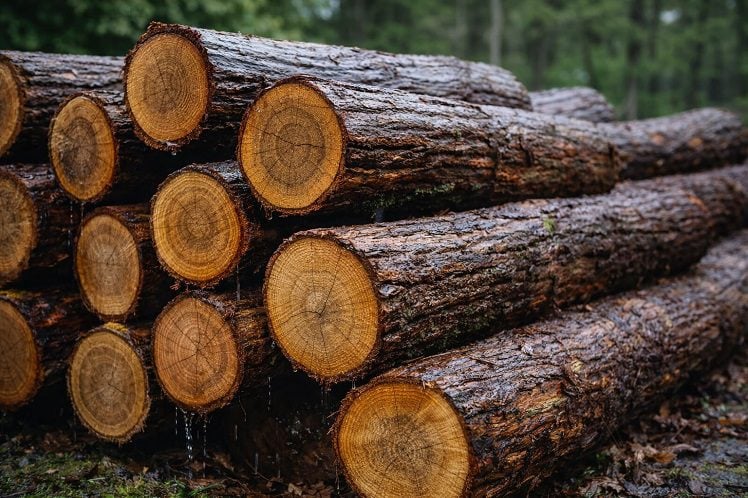
I’ve also worked with both hardwoods and softwoods. Hardwood logs like oak or cedar last noticeably longer, especially when exposed to rain.
Softer woods like pine are much easier to hollow, which can be tempting, but they break down faster. If I use softwood, I now accept that it’s a shorter-term planter and plan accordingly.
I also avoid logs that are already heavily rotted. A little surface aging is fine, but if the core feels soft, it won’t hold up once hollowed.
Placing the Log Before Doing Anything Else
One mistake I made early on was hollowing a log before deciding where it would go. Once filled with soil, a log planter becomes extremely heavy. Now, I always place the log in its final position first.
I make sure it’s stable and doesn’t roll. Sometimes that means flattening the bottom slightly or placing stones underneath. Taking time here saves a lot of frustration later.
Hollowing the Log: What Actually Works
Hollowing is the most physically demanding part, and I’ve tried different methods.
While chainsaws can be fast, I personally prefer a drill-based method for control and safety. I use a large spade bit or auger and drill deep holes in a tight pattern along the top of the log. Once that’s done, I use a hammer and chisel to remove the remaining wood.

This process is slow, but it allows me to control depth and shape. Over time, I found that aiming for 6 to 8 inches deep works best. Anything shallower limits plant choices, and anything deeper weakens the structure.
Rushing this step almost always leads to uneven walls or accidental splits, something I’ve learned to avoid.
Drainage: The Step You Cannot Skip
If there’s one lesson I repeat constantly, it’s this: drainage is not optional.
The first log planter I ever made failed because I didn’t drill enough drainage holes. Water collected inside, the soil stayed wet, and both the plants and the wood suffered.
Now, I drill multiple holes through the bottom of the hollowed area. I space them evenly and make sure they’re wide enough to actually let water escape. Since doing this consistently, I’ve had no issues with waterlogging.
Lining the Interior to Extend Its Life
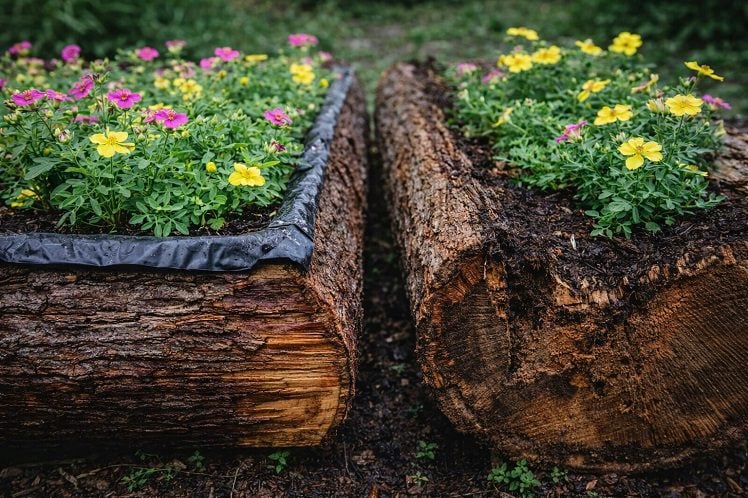
After a few seasons, I noticed a clear difference between lined and unlined log planters. The lined ones lasted significantly longer.
I now line the interior with landscape fabric or thick plastic. This reduces direct contact between soil and wood, slowing down rot. I always cut holes in the liner that match the drainage holes. If water can’t escape, the liner does more harm than good.
This one step alone has added years to some of my planters.
Soil Choice Based on Experience
Log planters drain faster than ground beds, so heavy soil doesn’t work well.
Through experience, I’ve settled on a light, well-draining mix. I avoid compacting it too much because roots need air. Every time I tried to use dense garden soil, plants struggled.
Choosing Plants That Actually Thrive
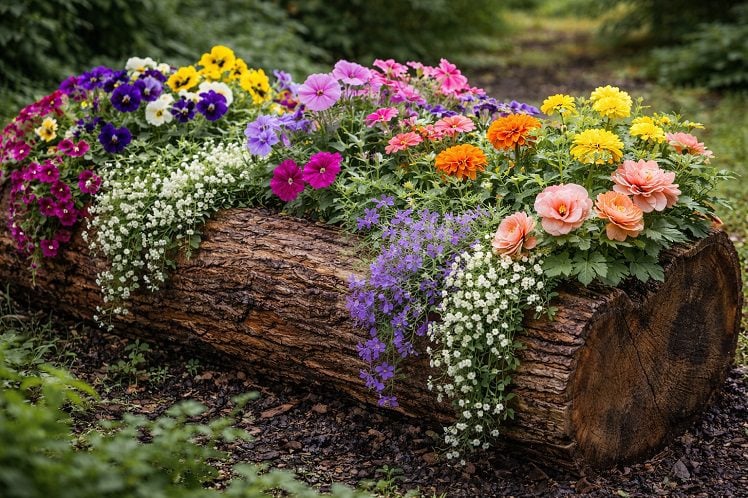
Not all plants are happy in log planters. Over time, I noticed that shallow-rooted annuals perform best.
Plants like pansies, petunias, alyssum, marigolds, and begonias have consistently done well for me. Trailing plants are especially useful near the edges. They soften the look and visually connect the log to the ground.
I avoid plants with aggressive or deep root systems. They may survive, but they can crack the wood over time.
Planting and Ongoing Care
Before planting, I arrange everything while the plants are still in their pots. This helps avoid overcrowding.
After planting, I water thoroughly and keep an eye on moisture levels, especially during the first few weeks. Log planters dry out faster than expected, something I learned after losing a few plants early on.
Maintenance is simple. I check moisture, replace seasonal plants, and let the wood age naturally. Some cracking is normal and doesn’t affect function.
What This Project Taught Me?
Turning fallen logs into planters changed how I see garden waste. Instead of removing everything that falls or breaks, I now look at how it can be reused.
From my experience, the success of a log planter depends on patience and preparation. Choosing the right log, creating proper drainage, and taking time during hollowing make all the difference.
When done correctly, a log planter isn’t just a temporary solution. It becomes a stable, functional part of the garden—one that continues to improve with time rather than wear out.


