When I started growing microgreens, I lived in a small apartment with no outdoor garden. I thought I needed space, sunlight, and fancy equipment. But after a few attempts and lots of experimenting, I discovered that microgreens are perfect for small spaces.
They don’t need deep soil, grow fast, and produce a lot in just a few trays. Over time, I figured out which varieties are easiest for beginners and most rewarding to grow indoors.
If you’re short on space but want to grow your own food, these are the microgreens I always recommend.
They’re reliable, forgiving, and full of flavor.
Table of Contents
Why I Recommend Microgreens for Small Spaces?
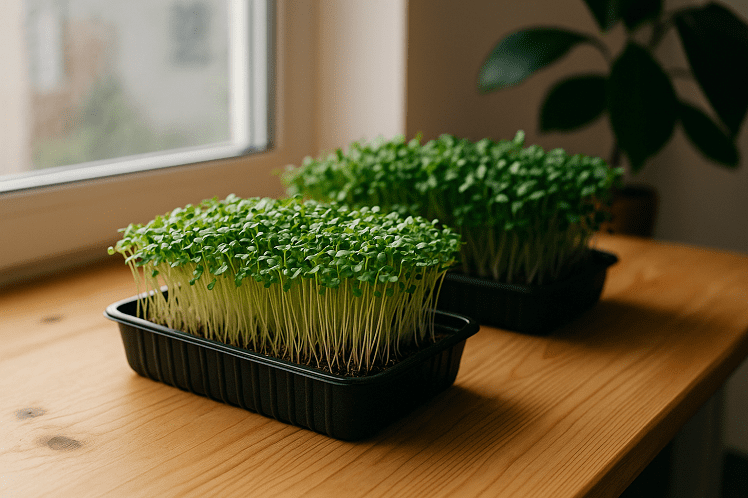
Microgreens are one of the simplest ways to grow food indoors. They need very little light, water, and space. Most of my trays sit on a shelf by the window or under a small grow light.
They’re also fast. Some varieties are ready in a week, which makes them perfect for beginners.

You don’t have to wait months to see results, and that immediate success keeps you motivated.
Another reason I love growing microgreens is that they don’t require much investment. A few trays, some seed-starting mix, and good-quality seeds are all you need.
My Best Microgreens Varieties for Beginners
After trying more than 20 different kinds, these are the ones that consistently perform well even in small, low-light indoor spaces.
1. Radish Microgreens
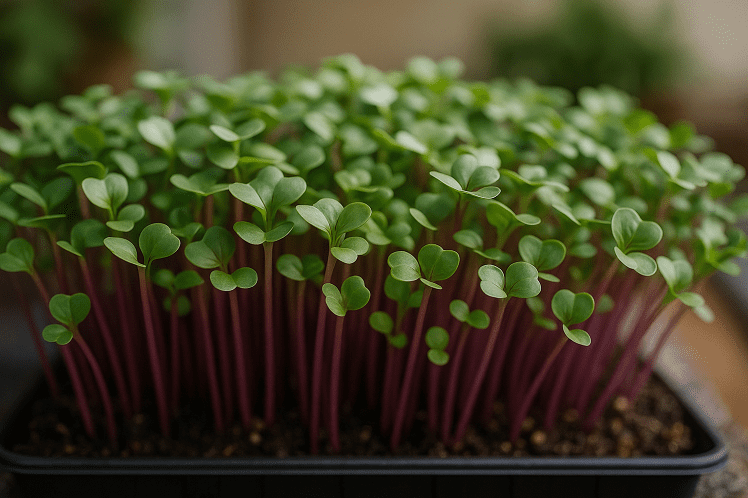
Radish microgreens are my top pick for beginners. They germinate quickly and grow evenly, often ready in just 6 to 8 days. They have a mild spicy flavor and vibrant purple or green stems that make every dish look fresh.
Tips from my experience:
- Don’t over-seed. Too many seeds lead to overcrowding and mold.
- Harvest when they’re about 6 cm tall for the best taste and crunch.
I once harvested radish microgreens too late, and they turned slightly bitter. Now, I always cut them just before the first true leaves appear.
2. Broccoli Microgreens
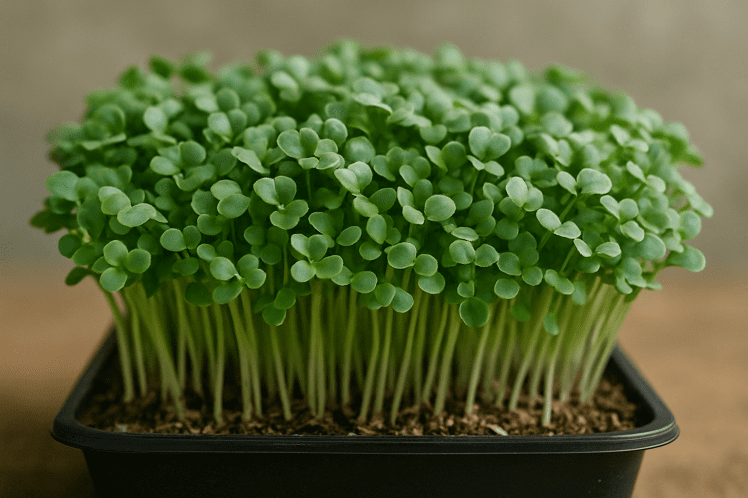
Broccoli microgreens are mild, nutritious, and ideal for small spaces. They grow compact and don’t require strong light. They’re rich in sulforaphane, a compound known for health benefits.
Tips:
- I soak the seeds for 2 to 3 hours before planting to speed up germination.
- Keep humidity moderate. Broccoli microgreens can attract mold if the air is too damp.
Broccoli grows evenly in a shallow tray, making it perfect if you want consistent harvests without much maintenance.
3. Pea Shoots

Pea shoots are slightly larger than most microgreens, but they’re still perfect for small setups. The flavor is sweet and crisp, and they keep producing if you cut carefully above the first leaf nodes.
Tips:
- Soak the seeds overnight for better germination.
- Give them good airflow to prevent mildew.
- Harvest when stems reach 10 to 15 cm.
I use a deep tray for peas because they have larger seeds and longer roots. If you have just one tray, start with peas.
4. Sunflower Microgreens
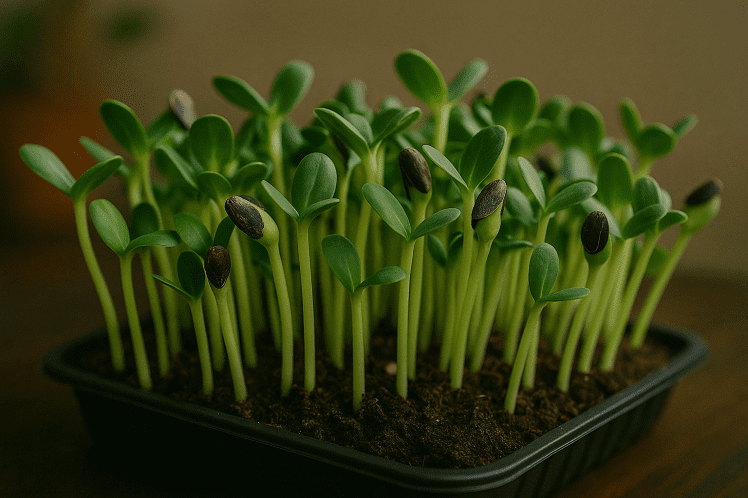
Sunflower microgreens are one of my favorites for their nutty flavor and thick stems. They feel more like a real vegetable than a sprout.
Tips:
- Soak seeds for 8 hours before planting.
- Press them down lightly into the soil to anchor roots.
- Give them strong light to keep them sturdy and upright.
One trick I’ve learned: rinse sunflower seeds before sowing to remove hulls that might attract mold. If you see leftover seed shells on leaves, mist lightly and brush them off gently.
5. Kale Microgreens
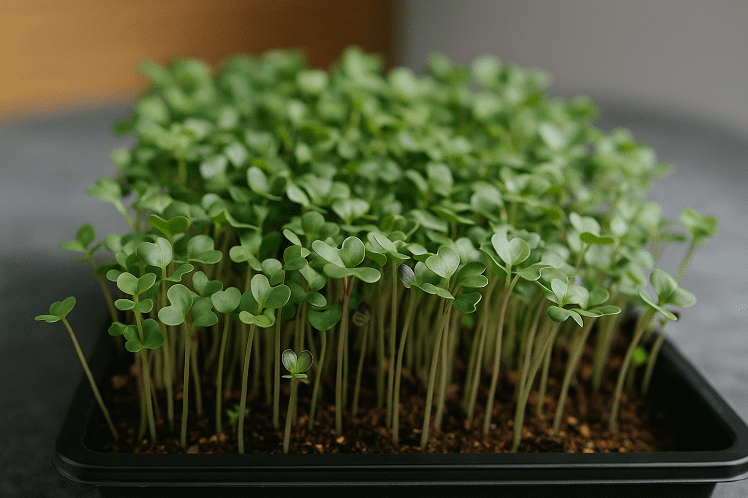
Kale microgreens are reliable and cold-tolerant, which makes them great for winter growing. They have a subtle, earthy taste and a high yield per tray.
Tips:
- I never soak kale seeds. They germinate fine on their own.
- Keep them in bright but indirect light to avoid yellowing.
Kale is perfect for beginners because it’s forgiving. Even if your watering or lighting isn’t perfect, it still grows well.
6. Mustard Microgreens

Mustard microgreens are fast-growing and flavorful, adding a little spice to meals. They thrive in small trays and don’t need much light.
Tips:
- Use less seed per tray than you think. Mustard seeds spread fast.
- Keep humidity balanced to avoid mold.
If you enjoy bold flavors, mustard microgreens are a fun addition. I grow them in rotation with milder greens like broccoli or kale.
7. Basil Microgreens

Basil takes a bit longer than others but is worth the wait. It adds a strong aroma and is ideal for kitchen windowsills.
Tips:
- Use bottom watering only to avoid damping-off.
- Basil prefers warmth, so keep it near a sunny window or under a light.
I plant basil microgreens every few weeks to keep a steady supply for cooking. The taste is much more intense than mature basil leaves.
My Indoor Growing Setup
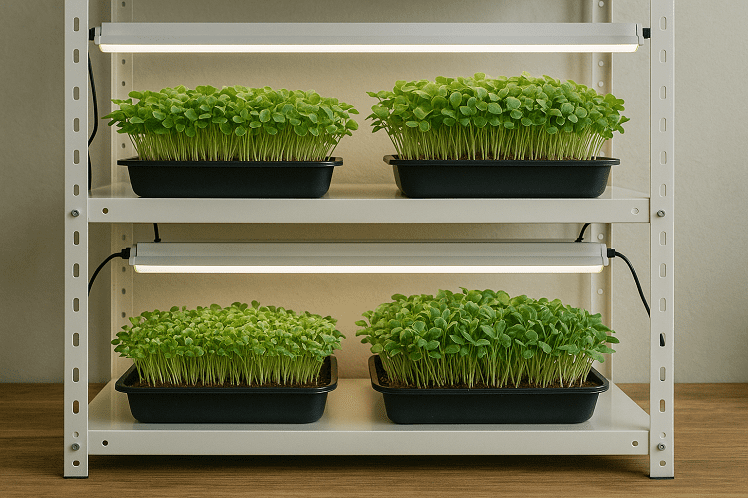
You don’t need a large system to grow multiple trays. I use a small metal shelf with two LED grow lights. Each tray measures about 25 cm by 35 cm. I rotate them weekly, so while one batch is growing, another is being harvested.
My basic routine:
- Soak seeds if needed.
- Fill trays with 3 cm of damp seed-starting mix.
- Scatter seeds evenly and press them lightly.
- Cover for 2 to 3 days until germination.
- Uncover and turn on lights for 12–14 hours daily.
- Bottom-water every 2 days.
I harvest most microgreens within 10 to 14 days. The fast turnaround keeps the process rewarding, especially in small living spaces.
Lesser-Known Tips I’ve Learned to Grow Microgreens
Here are some things I discovered after a lot of trial and error:
- Rotate trays daily if using natural light so all sides grow evenly.
- Use filtered or rainwater to prevent salt buildup in the soil.
- Reuse soil carefully. After harvest, I dry the old soil and mix it with fresh compost before reusing.
- Stack trays during germination. The light pressure helps seeds root deeper and sprout evenly.
- Avoid direct airflow. Gentle circulation is enough; strong air dries seedlings.
These small details make a big difference in how consistent and healthy your microgreens turn out.
Why I Recommend Starting Small
If you’re new to growing microgreens, begin with one or two trays. It’s easy to expand later once you understand the timing of each variety. I started with radish and broccoli, and within two weeks, I had fresh greens ready for every meal.
Growing microgreens in small spaces taught me that you don’t need a garden to grow your own food.
A little light, water, and patience are all it takes.
Now I always have trays of microgreens near my kitchen window. It’s become part of my routine, and the fresh harvests keep me motivated to keep growing more.


