When I first started growing fruit trees, I was scared to prune them. Cutting branches in winter felt wrong. But after a few years of trial and error, I learned that winter pruning is not just safe.
The cold season gives me a chance to shape the trees, remove weak branches, and prepare them for stronger spring growth. Once I understood how to do it correctly, the difference in my harvest was huge.
Table of Contents
Why I Prune in Winter?
Winter is the best time to see the structure of the tree clearly. Without leaves, I can easily spot crossed branches, dead wood, and overgrowth.
More importantly, pruning during dormancy puts less stress on the tree. It redirects energy into developing healthy new shoots once spring arrives.
When I used to skip winter pruning, my apple and pear trees grew too dense. The branches competed for light, and the fruit stayed small. Now, with proper winter pruning, the canopy is balanced, the air circulates better, and the fruit size has improved noticeably.
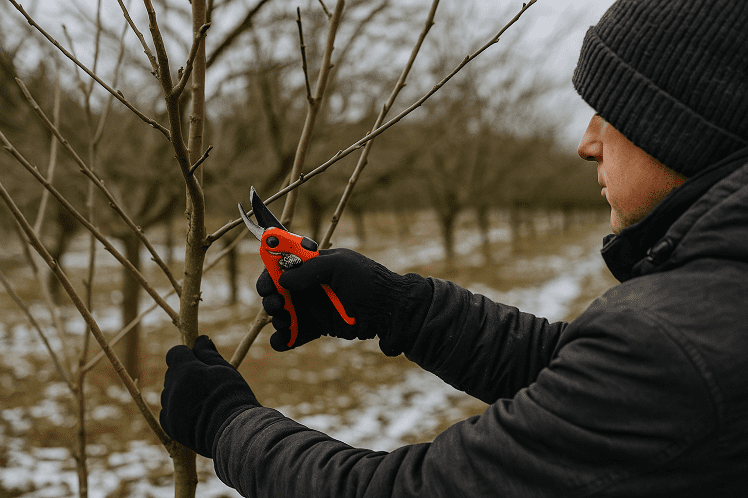
Getting Ready Before Pruning
Before I start, I always check the tools. Sharp, clean pruners make clean cuts that heal faster. I disinfect my tools with rubbing alcohol or a bleach solution to prevent spreading diseases between trees.

I also plan my work based on the weather. I never prune during freezing days.
The best time is when temperatures are above 4°C (around 40°F) and the weather is dry. Wet conditions increase the risk of infection at the cut points.
Another small but important tip: I stand back and observe the entire tree before making the first cut. It helps me understand its natural shape and decide where to thin or shorten branches.
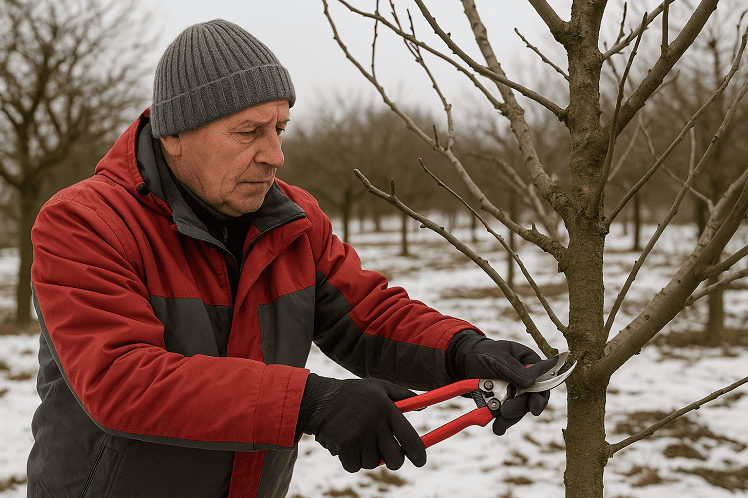
My Step-by-Step Winter Pruning Routine
I follow a simple sequence every year that keeps me organized and prevents over-pruning.
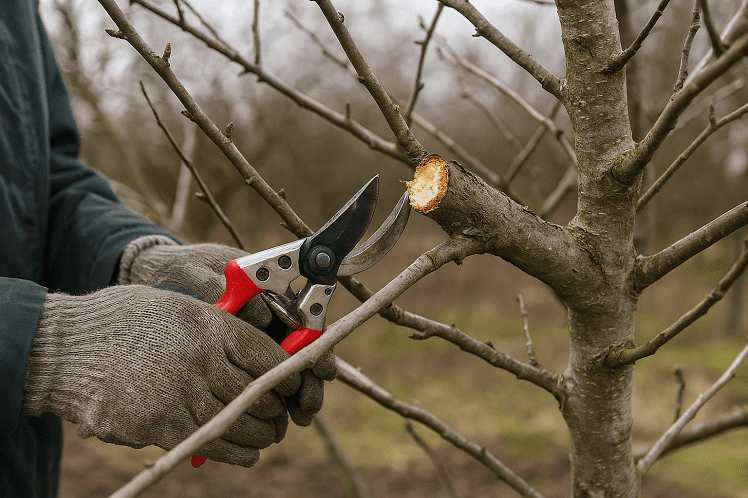
- Remove dead and damaged wood first. These are easy to spot because they’re dry, brittle, or discolored.
- Cut crossing or rubbing branches. They create wounds and restrict airflow.
- Thin out crowded areas. I keep branches evenly spaced, especially near the center of the tree.
- Shorten long, vigorous shoots. This helps control height and encourages branching.
- Shape the tree. I aim for an open, balanced structure where sunlight can reach all parts.
Each cut I make is just above a bud facing outward. This ensures new shoots grow in a direction that keeps the tree open and not inward.
How I Prune Different Types of Fruit Trees?
Each fruit tree behaves differently. Through experience, I’ve learned what works best for the ones I grow.
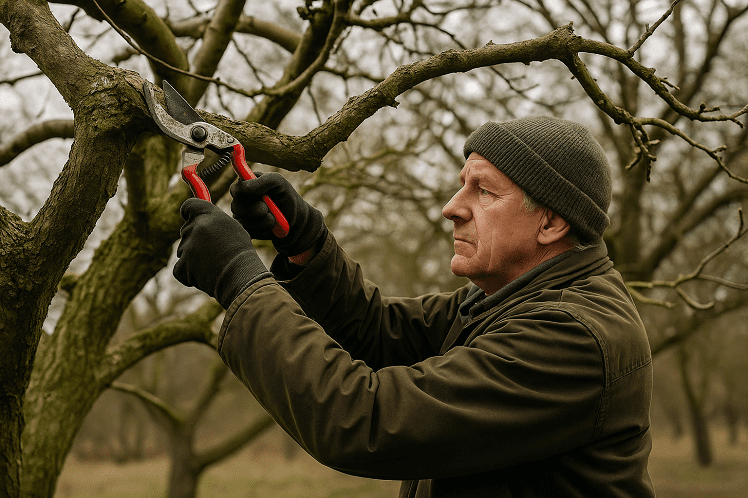
Apple and Pear Trees
These trees respond well to winter pruning. I focus on removing vertical water sprouts—thin, upright shoots that drain energy but don’t produce fruit. I also cut branches that grow toward the center to improve airflow.
Peach and Plum Trees
I prune these lightly in winter because they are more sensitive to cold damage. I focus on removing dead or diseased wood and shaping the canopy. Heavier pruning is better left for late winter or early spring before buds open.
Cherry Trees
I’ve learned to be cautious with cherries. They’re prone to bacterial infections, so I only prune them in late winter when the coldest period has passed. I cut out dead or overlapping branches but avoid removing too much at once.
Tips That Made My Pruning More Effective
- Never cut too close or too far from the bud. About half a centimeter above the bud is ideal.
- Use angled cuts. It helps water drain off instead of sitting on the cut surface.
- Don’t leave large stubs. They take longer to heal and attract pests.
- Step back often. I look at the tree from different angles to keep its shape balanced.
- Label trees after pruning. I record how much I trimmed and how they responded the following season.
One technique I rarely see mentioned is marking major pruning spots before cutting. I use small cloth strips to plan which branches to remove first. It prevents mistakes and keeps the tree’s structure consistent year after year.
Common Mistakes I Avoid Now
When I first started, I made several mistakes that set my trees back. I pruned too much at once, thinking it would encourage fruiting. It didn’t. Instead, the trees pushed out excessive leafy growth the next spring.
Now, I limit removal to about one-third of the total growth each winter. That’s enough to keep the tree healthy without shocking it.
I also avoid using heavy sealants or wound paint on cuts. I used to think it protected the tree, but it actually trapped moisture. Clean cuts made with sharp tools heal faster on their own.
How I Handle Large or Old Trees?
Older fruit trees need special care. If a tree has been neglected for years, I spread the pruning over two or three seasons. Cutting too much at once can cause stress and delay fruiting.
For very thick branches, I use the three-cut method to prevent bark tearing:
- Make a small notch on the underside of the branch about 20 centimeters from the trunk.
- Cut from the top about 5 centimeters beyond the notch until the branch falls.
- Trim the stub cleanly just outside the branch collar.
After large cuts, I always check back in spring to ensure new shoots are forming properly.
What I Learned from Winter Pruning?
Winter pruning used to feel intimidating, but now it’s one of my favorite garden tasks. The trees look bare and calm, and I can clearly see what they need.
Over time, I’ve learned that each tree reacts differently, but all of them benefit from consistent care.

Since I started pruning regularly in winter, my apple and pear yields have doubled, and the fruits are larger and better shaped. The trees are also easier to maintain throughout the year because their structure stays open and balanced.
If you’ve been avoiding winter pruning, start small. Pick one or two trees, use sharp tools, and focus on removing what’s clearly dead or crowded. After one season, you’ll notice the difference in how your trees grow and how your fruit looks.
Winter pruning is not about cutting randomly—it’s about shaping the tree’s future. Once you see the results, it quickly becomes one of the most rewarding parts of gardening.


