I never imagined that a bulky plastic container could turn into one of the most relaxing features in my backyard. But that is exactly what happened when I decided to build a DIY IBC tank hot tub. What started as a simple idea quickly became one of the most satisfying projects I have ever completed.
An IBC tank, which is usually used for transporting liquids, is surprisingly strong, affordable, and perfect for repurposing.
With a bit of effort, some basic tools, and creativity, I transformed it into a beautiful wood-clad hot tub that looks premium but costs a fraction of a store-bought one.
Table of Contents
Why I Chose an IBC Tank for My Hot Tub Project?
Before I started, I wanted something that was affordable, durable, and easy to modify. That is where the IBC tank stood out.
IBC tanks are designed to hold large volumes of liquid, so they are already waterproof and structurally strong. This means I did not need to worry about leaks or reinforcement as much as I would with other DIY options.
Another reason I chose this method is the cost. Traditional hot tubs can cost thousands of dollars. My entire setup, including materials, cost only a small portion of that.
And finally, I loved the idea of turning something industrial into something beautiful.
What I Considered First?
Before cutting or assembling anything, I spent time planning. This step saved me from making mistakes later. I first decided on the size and height of the tub.
Most IBC tanks come in standard sizes, so I measured how deep I wanted the water to be when sitting inside. Then I marked where I would cut the top.
I also thought about placement. I chose a flat area in my backyard with good drainage and privacy. This is important because once the tub is filled with water, moving it becomes very difficult.
Finally, I planned the plumbing system. I wanted a simple inlet and outlet system so I could fill, drain, and maintain the water easily.
Step 1: Cutting the IBC Tank to Size
The first physical step was cutting the tank to create the open top. I used an angle grinder for this, carefully cutting along the marked line. This process requires patience and safety precautions.
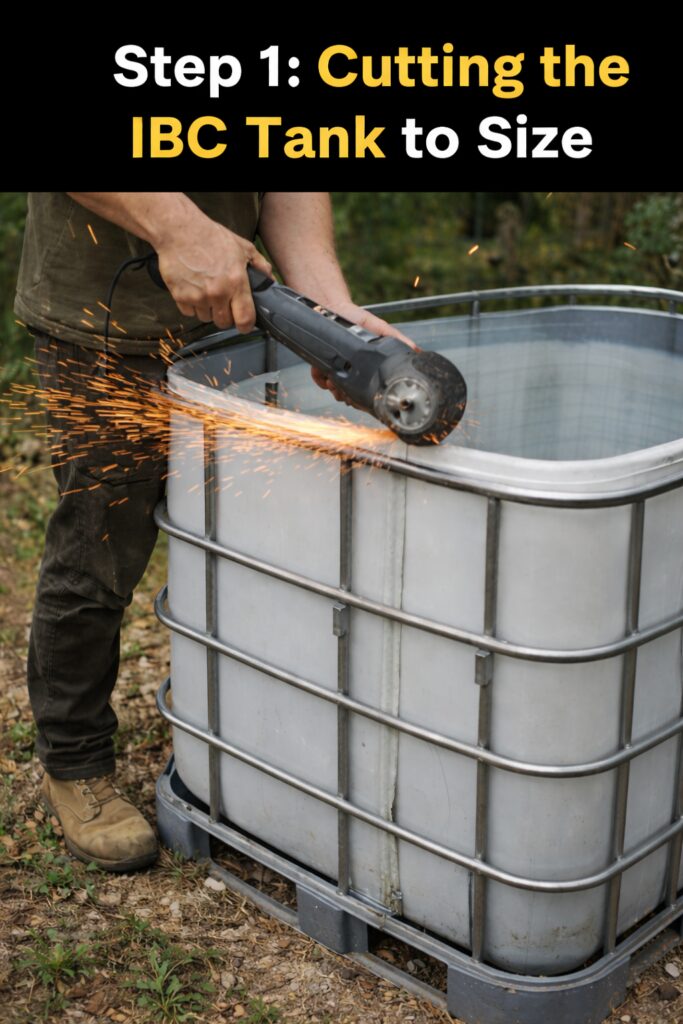
I wore gloves, eye protection, and made sure to cut slowly to keep the edges clean.
Once the top section was removed, I smoothed the edges to avoid sharp corners. This step is important because the edge will be exposed and touched frequently.
At this point, the tank already started to resemble a tub.
Step 2: Setting Up the Base and Positioning
After cutting the tank, I moved on to setting up a stable base. I leveled the ground and added a layer of gravel. This helps with drainage and prevents the base from shifting over time.
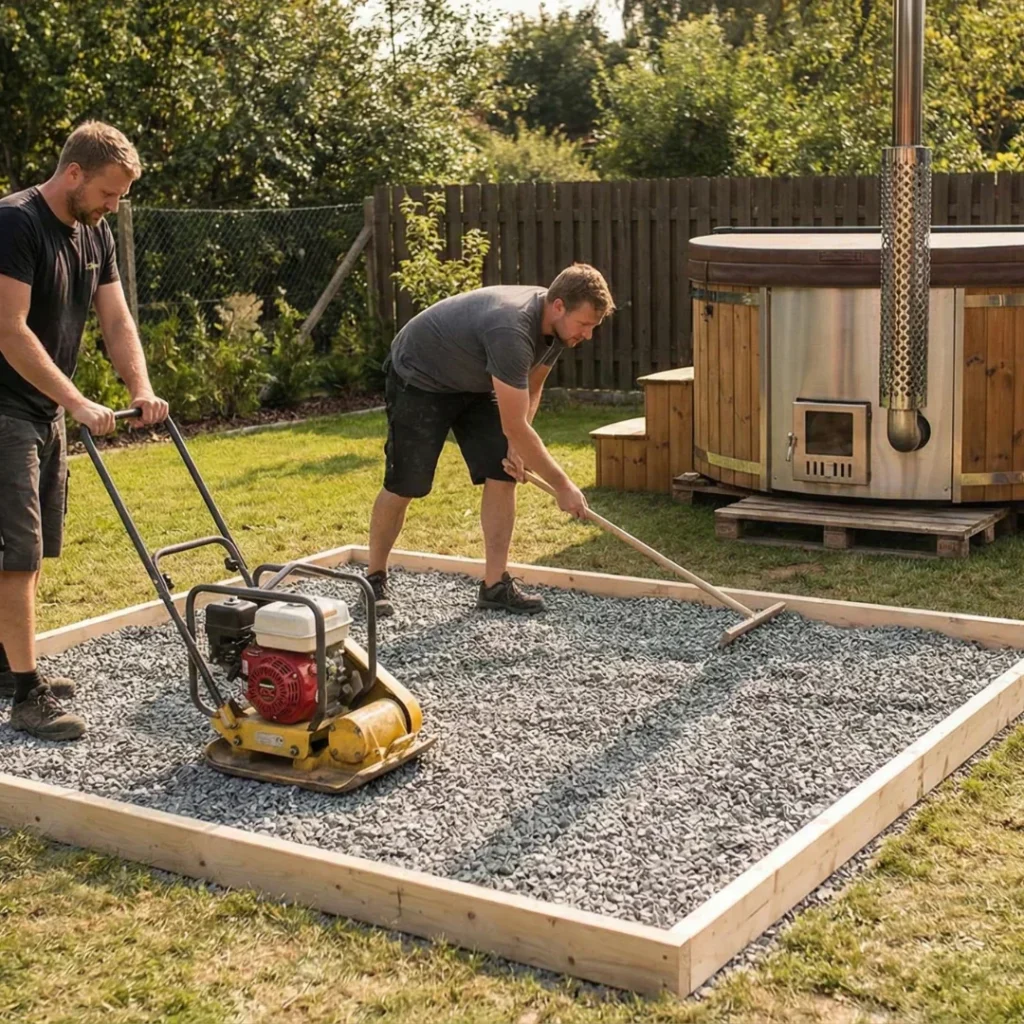
On top of the gravel, I placed a solid platform to evenly distribute the weight. Keep in mind that once filled, the tub can weigh hundreds of kilograms. A strong and level base is essential for safety and durability.
Once the base was ready, I positioned the tank and made sure it sat perfectly level.
Step 3: Installing the Plumbing System
With the tank in place, I installed the plumbing. IBC tanks usually come with a valve at the bottom, which makes things easier. I connected PVC pipes to this outlet to create a drainage system. This allows me to empty the tub whenever needed.
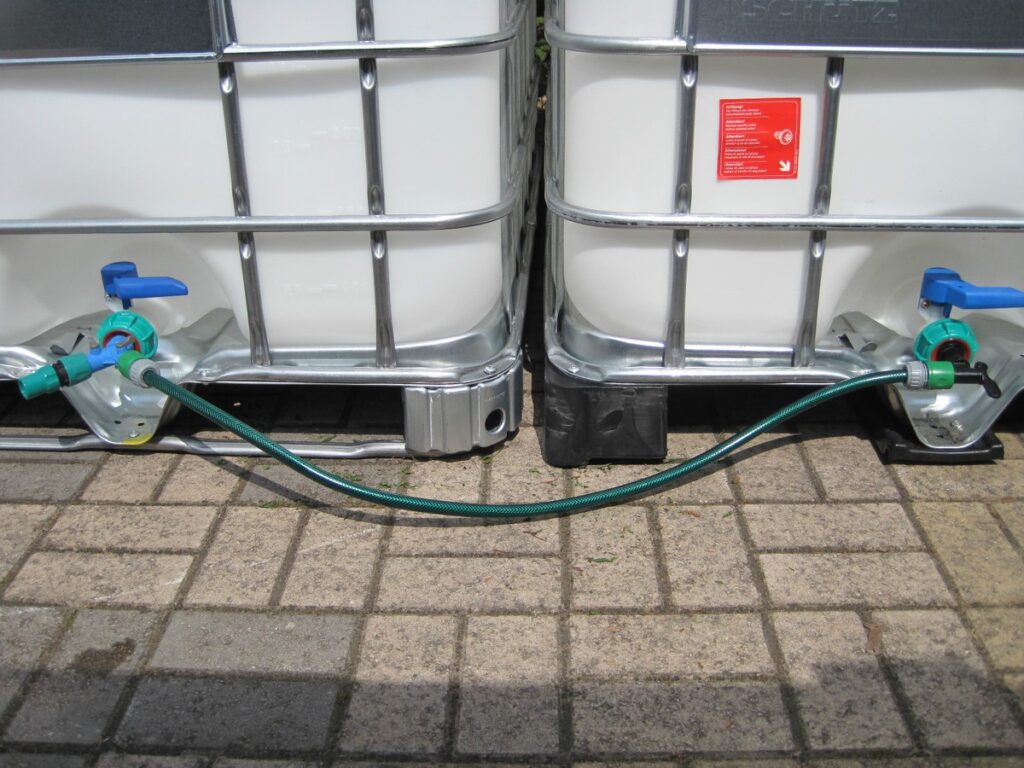
I also added a simple inlet system for filling the tub with water. Some people go further and install heating systems or filters, but I decided to keep mine simple and functional.
If you want to upgrade later, you can always add those features.
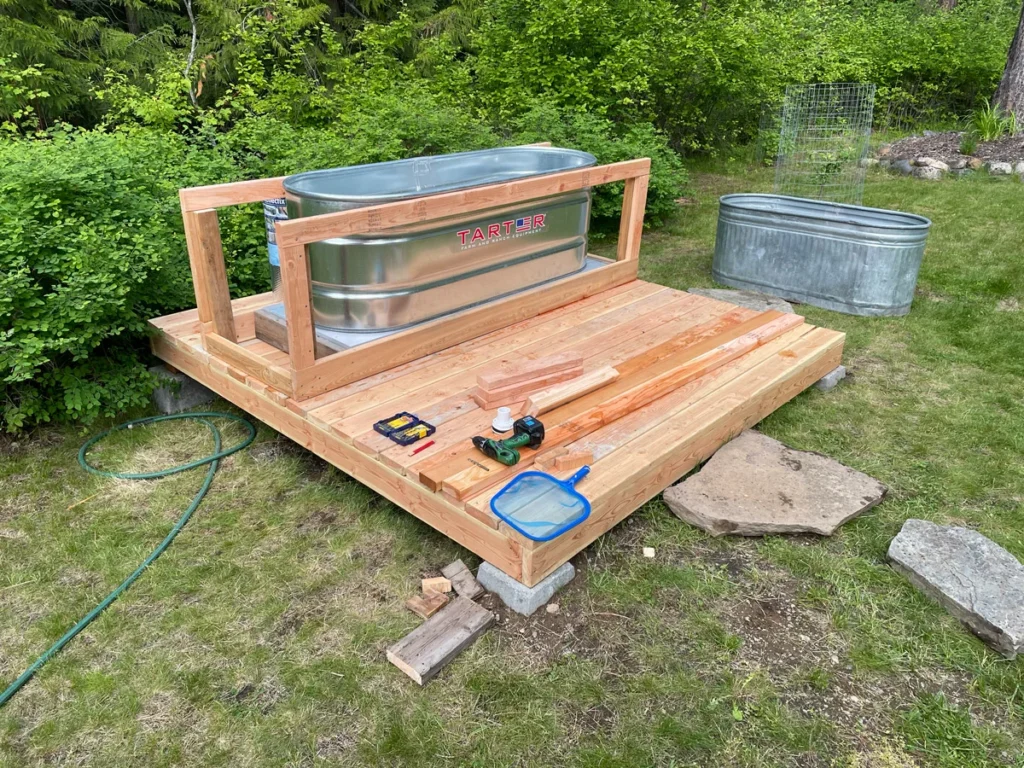
Step 4: Adding the Wooden Cladding for Style and Insulation
This was my favorite part of the project because it completely transformed the look. The plastic tank on its own looks industrial and unfinished. To fix this, I added wooden panels around the exterior.
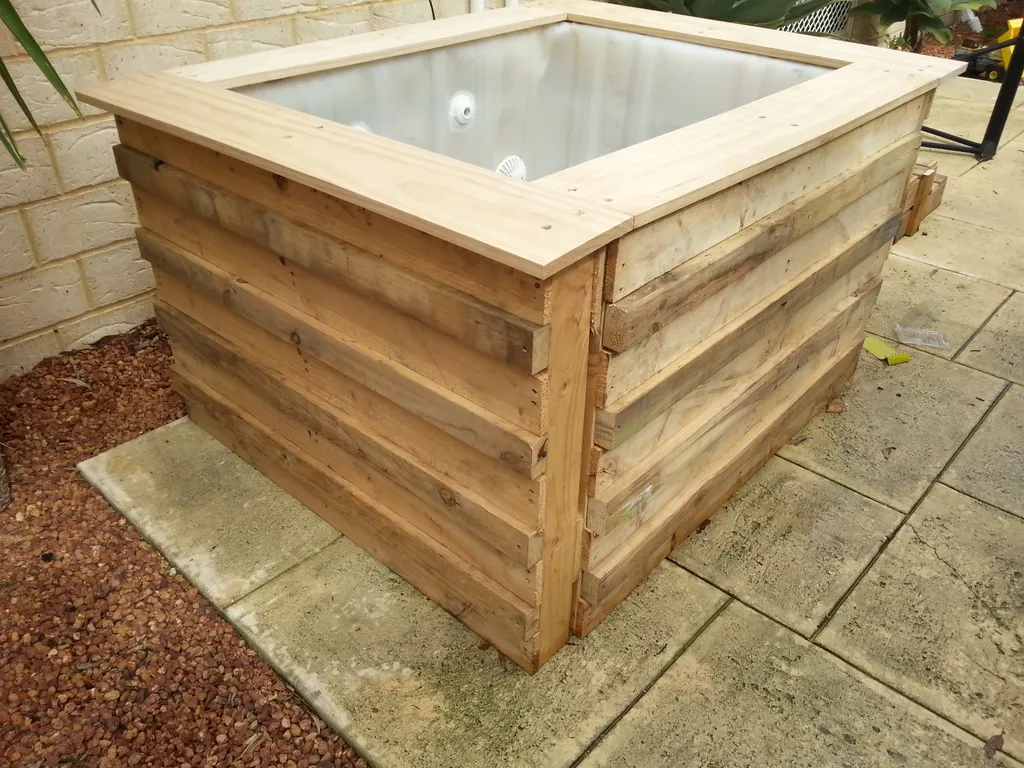
I built a simple wooden frame around the tank first. Then I attached vertical wooden planks to create a clean and natural finish. The wood not only improves the appearance but also adds a layer of insulation.
As I installed each plank, I made sure they were evenly spaced and aligned. This step takes time, but the result is worth it. Suddenly, the tank no longer looked like a container.
It looked like a proper hot tub.
Step 5: Securing and Finishing the Structure
Once the cladding was installed, I focused on making everything sturdy and safe. I reinforced the wooden structure by tightening all screws and checking for any loose parts.
Then I sanded the wood to remove rough edges and applied a protective finish.
This helps the wood resist moisture, which is important since it will be exposed to water and outdoor conditions. I also added a small wooden step to make it easier to get in and out of the tub.
This simple addition made a big difference in usability.
Step 6: Filling the Tub and Testing It
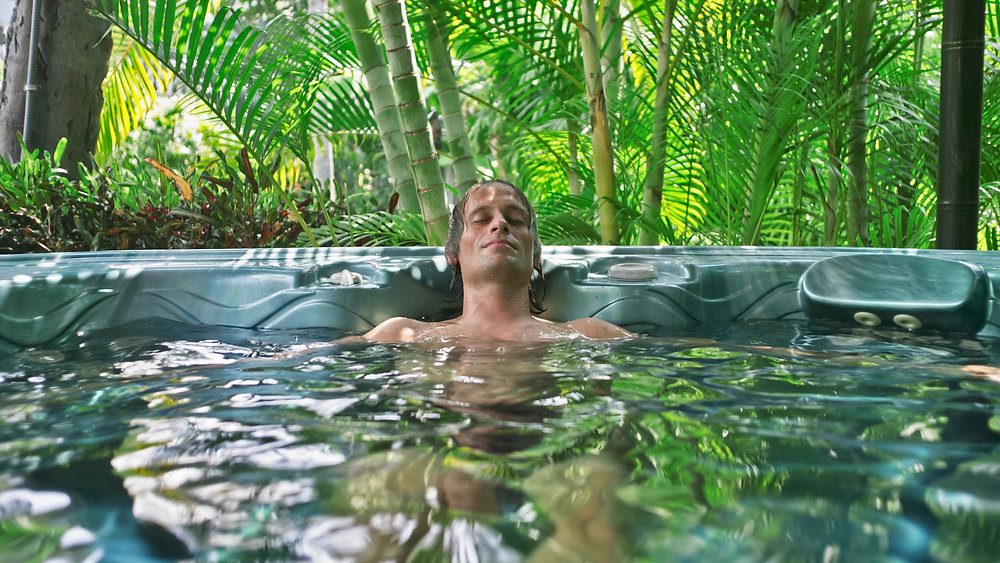
This was the most exciting moment. I filled the tub with water and checked for leaks. Thankfully, everything held perfectly. I also tested the drainage system to make sure it worked smoothly.
Once I confirmed everything was functioning, I stepped inside for the first time. The feeling was incredibly satisfying. After all the work, I was finally enjoying something I built with my own hands.
Optional Upgrades I Considered
After completing the basic setup, I started thinking about upgrades. One option is adding a heating system. Some people use wood-fired heaters or electric heaters to turn the tub into a true hot tub experience.
Another upgrade is adding a filtration system to keep the water clean for longer periods. You can also add LED lighting, a cover, or even a small deck around the tub to enhance the overall experience.
The beauty of this project is that you can customize it over time.
Maintenance Tips from My Experience
Keeping the tub in good condition is easier than I expected. I regularly change the water and clean the interior to prevent buildup. I also check the wooden cladding for any signs of wear and reapply protective coating when needed.
The plumbing system should be inspected occasionally to ensure there are no blockages or leaks. With simple maintenance, the tub can last for years.
Common Mistakes to Avoid
Looking back, there are a few things I would warn others about. First, do not skip the planning stage. Taking time to measure and prepare will save you from costly mistakes.
Second, make sure the base is strong and level. This is one of the most critical parts of the build. Third, be careful when cutting the tank. Clean cuts and smooth edges make a big difference in both safety and appearance.
Finally, do not rush the wooden cladding. This is what gives the project its final polished look.
Cost Breakdown and Budget Insight
One of the best parts of this project is how affordable it is. The IBC tank itself is relatively inexpensive, especially if you buy a used one in good condition.
The wood and hardware are also budget-friendly, depending on the type of wood you choose.
Overall, I spent significantly less than what a commercial hot tub would cost. Yet the final result feels just as enjoyable, if not more, because it is something I built myself.
Was It Worth It?
Building this DIY IBC tank hot tub was absolutely worth it. Not only did I save money, but I also gained the satisfaction of creating something functional and beautiful.
Every time I step into the tub, I am reminded of the effort and creativity that went into it. If you are someone who enjoys DIY projects and wants to upgrade your backyard without spending a fortune, I highly recommend trying this.


