Whether you’re a seasoned gardener or just a homeowner looking to boost the curb appeal of your yard, creating a neat and defined tree ring is a quick and effective way to enhance the appearance of your outdoor space.
Many homeowners find that the area around their trees often becomes messy, overgrown with grass, or damaged by lawnmowers or string trimmers. Not only does this look unsightly, but these tools can also harm the tree itself.
If you’ve ever hit exposed tree roots with a lawnmower, you know how problematic it can be.
Table of Contents
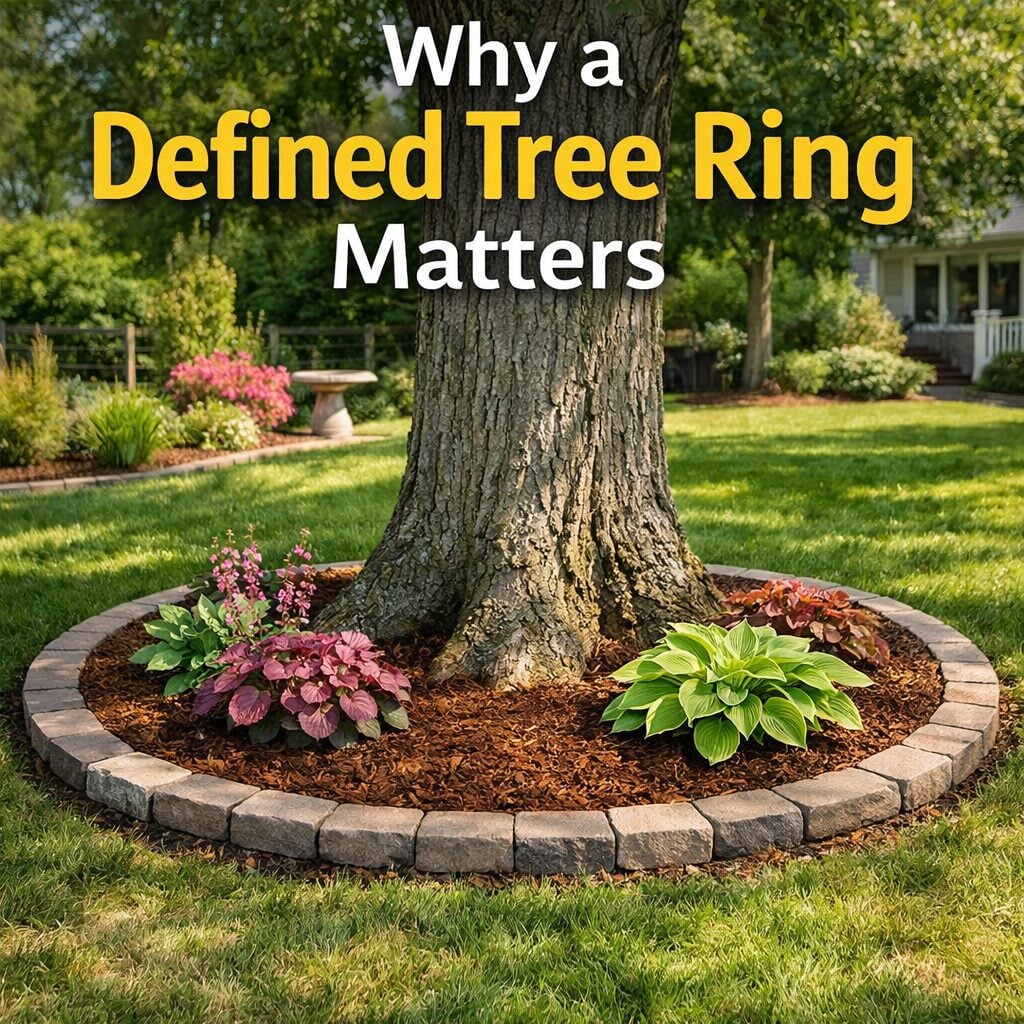
Why a Defined Tree Ring Matters?
Creating a defined tree ring offers numerous benefits. It enhances the visual appeal of your yard and helps protect the tree’s root system. A well-maintained tree ring prevents the encroachment of grass and weeds that compete for nutrients with the tree.
Additionally, it provides a barrier that keeps lawnmowers and string trimmers away from sensitive roots, reducing the risk of damage.
However, it’s crucial to go about this the right way. Digging into the soil around your tree can harm its delicate roots, potentially weakening or even killing the tree.
This is why it’s essential to use a technique that avoids disturbing the tree’s root zone while still creating a clean, defined border.
The Golden Rule: Do Not Dig
The biggest mistake many homeowners make when attempting to create a tree ring is digging into the soil around the tree. Digging can severely damage the tree’s feeder roots, which are located just below the soil surface.
Cutting through these roots can deprive the tree of essential nutrients and water, which ultimately weakens the tree and could lead to its death. In extreme cases, damaging roots can also make the tree unstable.
Instead of digging, the best approach is to build up, not down. This technique, known as the sheet mulching method, is a safe and effective way to create a tree ring that benefits both the tree and the surrounding landscape.
Let’s dive into the detailed steps of how to properly give your tree a makeover using this method.
Step 1: Prepare the Base
Start by mowing or weed-whacking the grass around the tree as short as possible. The goal here is to reduce the height of the grass without having to pull it up entirely. This saves you from the back-breaking task of manually removing sod.

Once the grass is cut, clear away any debris or fallen sticks from the area. This ensures that your base is clean and ready for the next steps.
If your tree has exposed roots, avoid burying them under a thick layer of soil. Instead, plan to make your tree ring large enough to encompass the roots, so they remain visible and accessible.
Step 2: Use Cardboard as a Weed Barrier
To prevent weeds and grass from creeping back into the tree ring, you’ll need a weed barrier. While many people use plastic landscape fabric for this purpose, it’s not the best option for your tree.
Plastic can suffocate the soil, depriving the tree of oxygen and moisture. Over time, it also gets tangled in the roots, which can harm the tree.

A much better alternative is plain brown cardboard. Cardboard is biodegradable, which means it will break down naturally over time, adding organic matter to the soil. Plus, it helps smother the grass underneath, ensuring that weeds don’t grow back.
Remove any shipping tape or labels from your cardboard before using it. Lay the cardboard flat over the area around the tree, overlapping the edges to prevent any gaps where weeds might sneak through.
Be sure to water the cardboard thoroughly to help it settle and begin the decomposition process.
Step 3: Set the Border
Once the cardboard is in place, it’s time to set up the border for your tree ring. The best materials for this are recycled bricks, cobblestones, or flat pavers. These materials provide a durable and attractive border for your tree ring.
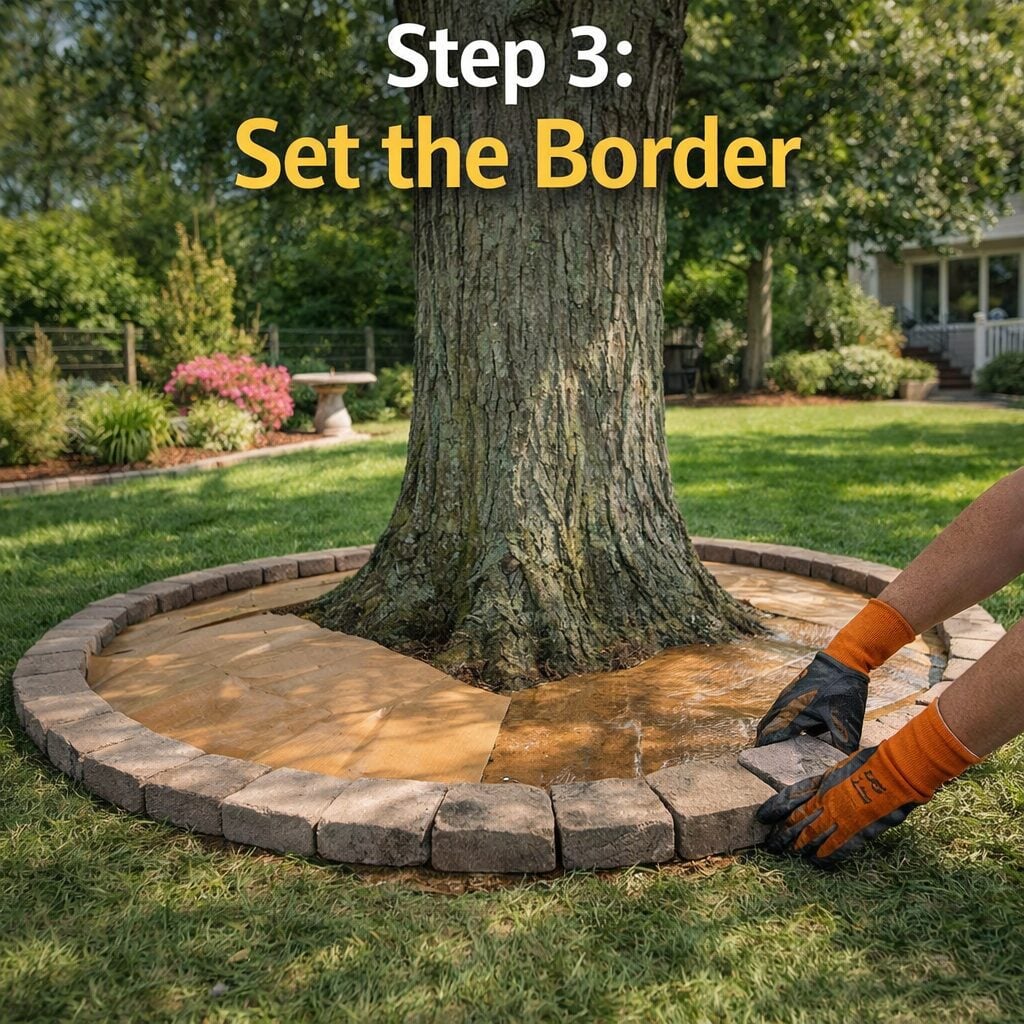
Since you’re not digging a trench into the soil, simply place the border materials on top of the cardboard, ensuring they’re level. The weight of the border will help hold the cardboard in place and give you a clean, defined line to mow against later.
This method avoids disturbing the tree’s roots and ensures that the border remains stable and secure.
Step 4: The “Donut” Mulching Technique
The next step is to apply mulch, which is vital for the health of your tree. But it’s important to avoid a common mistake known as volcano mulching—where mulch is piled high around the tree trunk.
This practice can lead to rot and invites pests, as mulch touching the bark suffocates it and promotes fungal growth.
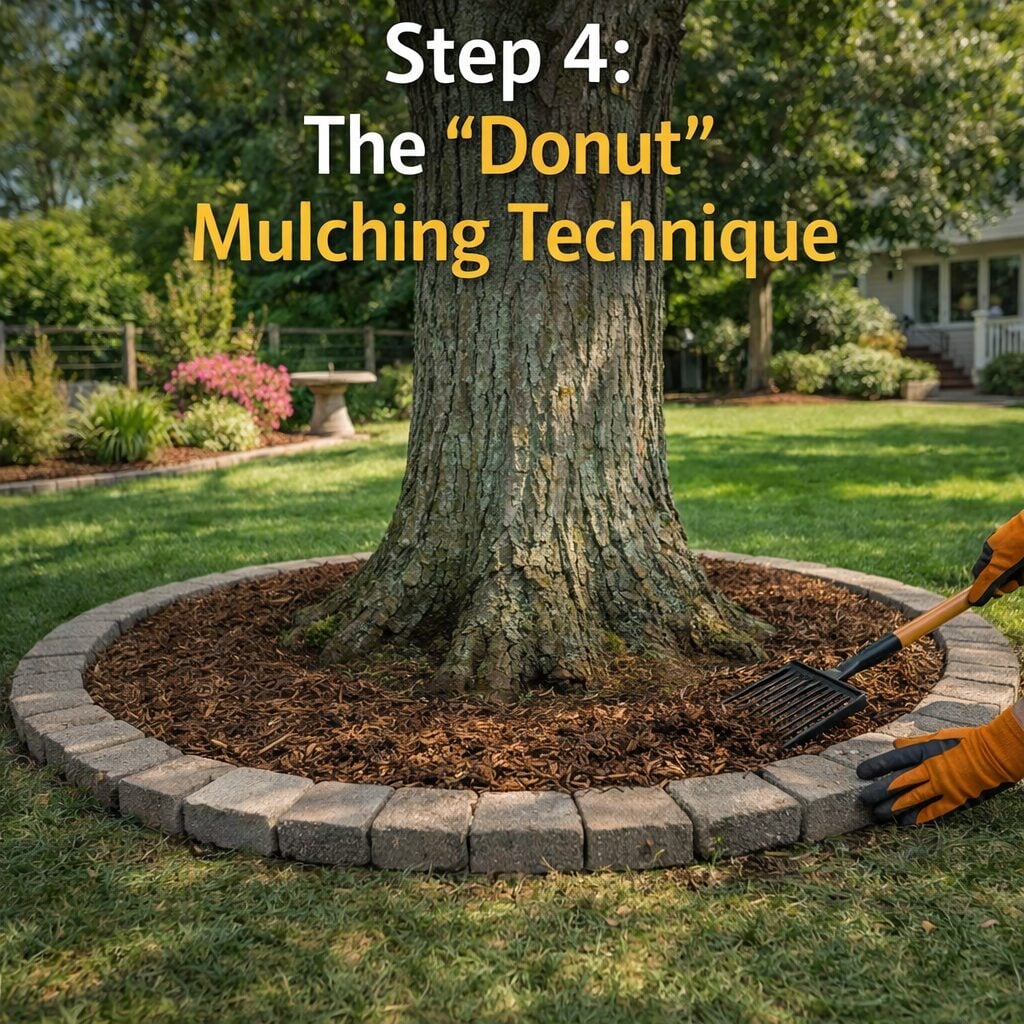
Instead, use the donut mulching technique. Spread a 2- to 3-inch layer of hardwood mulch around the base of the tree, ensuring there’s a clear gap of 2 to 3 inches between the mulch and the tree trunk.
This allows the root flare to remain exposed and dry, which is essential for healthy root development.
Step 5: Add Plants for a Finishing Touch
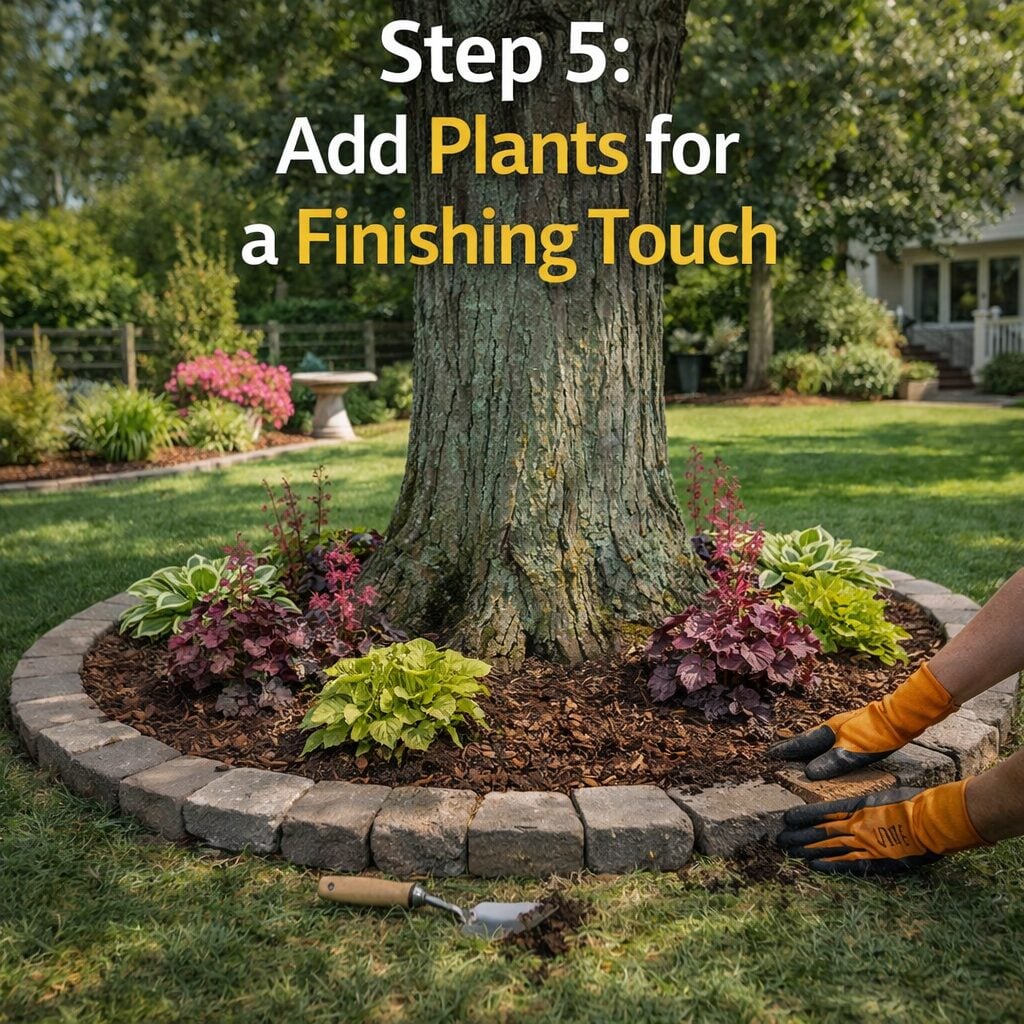
If you’d like to add some color and variety to your tree ring, consider planting small, shade-loving perennials with shallow root systems. Plants like Coral Bells or Hostas are perfect for this purpose.
Since you can’t dig deeply into the soil around the tree, you’ll need to plant them slightly higher than the ground level. Mound the new soil and mulch around their base, which will protect the tree while giving the area a lush, finished look.
The Long-Term Benefits
By following these steps, you’ll create a beautiful and functional tree ring that not only enhances the aesthetic of your yard but also supports the health and longevity of your tree.
The sheet mulching technique is an easy, affordable, and environmentally friendly solution that avoids the harmful practice of digging into your tree’s root zone.
As your tree ring settles in, the cardboard will break down and enrich the soil, while the mulch continues to protect the roots and suppress weeds. Over time, you’ll notice healthier tree growth and a more polished appearance in your landscape.
A Professional Tree Makeover
In conclusion, giving your tree a professional makeover doesn’t require digging into the ground and risking damage to its roots. By using the sheet mulching method, you can protect your tree, improve the soil quality, and boost your curb appeal—all in just one afternoon.
Remember, the key is to build up, not dig down. Whether you’re a seasoned gardener or a beginner, this approach is easy to implement and will yield beautiful results for years to come.


