If you’re passionate about gardening like I am, you know that achieving lush, vibrant leaves is the ultimate goal for your plants. After experimenting with various fertilizers, I discovered the secret to boosting plant health right from my kitchen — by brewing my own high-performance coffee liquid fertilizer.
This homemade solution, crafted from simple, natural ingredients, not only nourishes my plants but also keeps them thriving season after season.
Table of Contents
From Kitchen Scraps to Garden Gold
Every morning, like millions of others, I find myself staring at a pile of soggy, dark coffee grounds left in my filter. For years, I simply tossed them into the compost bin, thinking I was doing enough.
But then I started noticing that my heavy feeders (my monsteras, peppers, and roses) needed something more immediate than slow-release compost.
I needed a liquid “super-fuel” that was easy to make, cost almost nothing, and utilized the biological power of fermentation.
I decided to experiment with a method I call Coffee Liquid Fertilizer, a potent fermented tea that combines the nitrogen of coffee with the microbial activity of yeast.
Since I started using this “black gold” in my garden, the transformation has been nothing short of miraculous. My plants aren’t just surviving; they are thriving with a deep, vibrant green that I used to think only came from expensive store-bought chemicals.
Gathering Your Ingredients
Before you can dive into creating your own homemade coffee liquid fertilizer, it’s essential to gather the right ingredients. Think of it as preparing for a gardening recipe — each component plays a vital role in giving your plants the nutrients they need to flourish.

From the rich coffee grounds to the simple addition of sugar and yeast, each item serves a specific purpose in promoting healthy, vibrant growth. In this section, I’ll walk you through what you need to get started, making sure you’re set up for success in nurturing your garden.
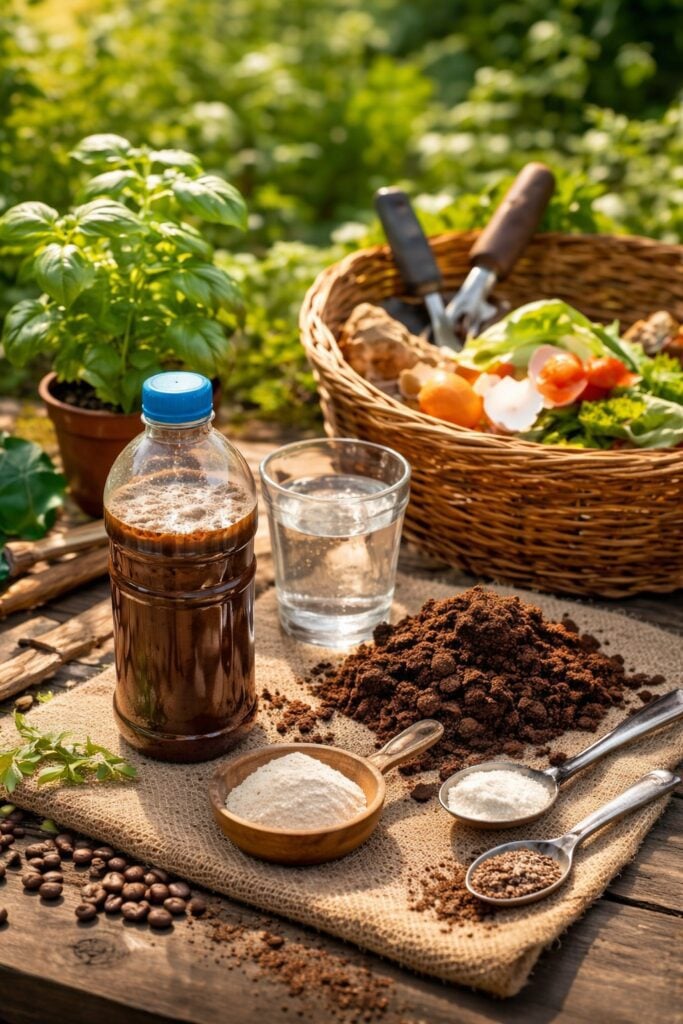
Before you start brewing, you need to set up your workstation with five simple items that you likely already have in your pantry.
- 200g Coffee Grounds: Used grounds are perfect. They provide the nitrogen, phosphorus, and potassium that plants crave.
- 1 tbsp Powdered Yeast: This is the magic worker. Yeast acts as a biological catalyst, breaking down the organic matter into forms that plant roots can absorb instantly.
- 1 tbsp Sugar: Think of this as the fuel for the yeast. It kickstarts the fermentation process.
- 1L Warm Water: The temperature is critical. It needs to be warm to the touch (around 35°C to 40°C) but not boiling, as extreme heat will kill your yeast.
- A Plastic Bottle: A standard 1.5L or 2L soda bottle works best because it can handle the pressure of the gases produced during fermentation.
Step 1: Activating the Yeast
The first step in my process is all about waking up the microscopic workers that will transform your coffee into fertilizer.
I start by taking my liter of warm water and adding the tablespoon of sugar and the tablespoon of yeast. I give it a gentle stir until the sugar is dissolved and the yeast is well incorporated. This is where the chemistry begins.
You’ll notice the water starts to get a bit cloudy and might even begin to foam slightly. I usually let this sit for about 5 to 10 minutes.
Watching the yeast “bloom” is always a satisfying moment for me. It tells me that the organisms are alive and ready to start consuming the nutrients in the coffee. If your mixture doesn’t bubble or foam at all, your water might have been too hot, or your yeast might be expired.
Always ensure your “workers” are active before moving to the next stage.
Step 2: Mixing the Ingredients
Once my yeast is bubbly and active, it is time to introduce the main course: the coffee grounds.
I carefully pour the 200g of coffee grounds into the bottle, followed by the yeast and water mixture. Using a funnel makes this much easier and prevents a messy kitchen counter. I’ve found that using a mix of different roasts doesn’t hurt, but I prefer using grounds that are relatively fresh (from that morning’s brew) to ensure the nutrient profile is at its peak.
The smell at this stage is surprisingly pleasant. It’s a deep, earthy aroma mixed with the sweet, bready scent of the yeast. As I watch the grounds swirl into the liquid, I know that the yeast is already beginning to latch onto the organic material, starting the breakdown process that makes the nitrogen readily available for my plants.
Step 3: Removing the Air and Sealing
The most important technical detail in this entire process is how you manage the air inside the bottle.
After everything is in the bottle, I don’t just screw the cap on. Instead, I gently squeeze the sides of the plastic bottle until the liquid rises near the top, pushing out most of the excess oxygen. Why do I do this?
Fermentation is an anaerobic (or low-oxygen) process. By removing the air, I am creating the perfect environment for the yeast to thrive without the interference of aerobic bacteria that might cause the mixture to smell foul.
I then tighten the cap securely. You’ll notice the bottle looks a bit crumpled and “squeezed.”
Don’t worry, it won’t stay that way for long. As the fermentation progresses, the yeast will release carbon dioxide, and the bottle will slowly expand back to its original shape.
Step 4: The Fermentation Process
Now comes the part that requires the most patience: letting nature take its course in a warm, sunny spot.
I place my bottle on a sunny windowsill or a spot in the garden that catches the morning light. The warmth from the sun acts like an incubator, keeping the yeast active and accelerating the breakdown of the coffee grounds.
Typically, I leave the bottle to ferment for about 3 to 5 days.
During this time, I check the bottle daily. If it feels extremely tight and pressurized like a fresh bottle of soda, I “burp” it by slightly cracking the lid to let a little gas out, then resealing it.
By the end of the process, the liquid will have deepened in color, and the solids will have started to settle. This “brew” is now teeming with beneficial microbes and dissolved nutrients, ready to be served to your garden.
The Science of My Success
You might wonder why we don’t just put coffee grounds directly on the soil, and the answer lies in the speed of delivery.
When I used to put dry grounds on my plants, they would often sit there for months, sometimes even developing mold before they actually broke down. By using yeast and sugar to ferment the grounds in water, I am essentially “pre-digesting” the nutrients.
The fermentation process breaks the complex organic molecules in the coffee into simpler forms like nitrates and minerals.
Furthermore, the live yeast introduces beneficial fungi to your soil. These microbes form a symbiotic relationship with plant roots, helping them reach further and absorb water more efficiently.
It’s not just a meal for the plant; it is a probiotic boost for the entire soil ecosystem.
Feeding Your Plants Correctly
Now that you have your potent Coffee Liquid Fertilizer, you must know how to use it without overwhelming your plants.
Because this mixture is quite concentrated and acidic, I never pour it directly onto my plants at full strength. My golden rule is dilution. I usually mix one part of my fermented coffee tea with ten parts of fresh water.
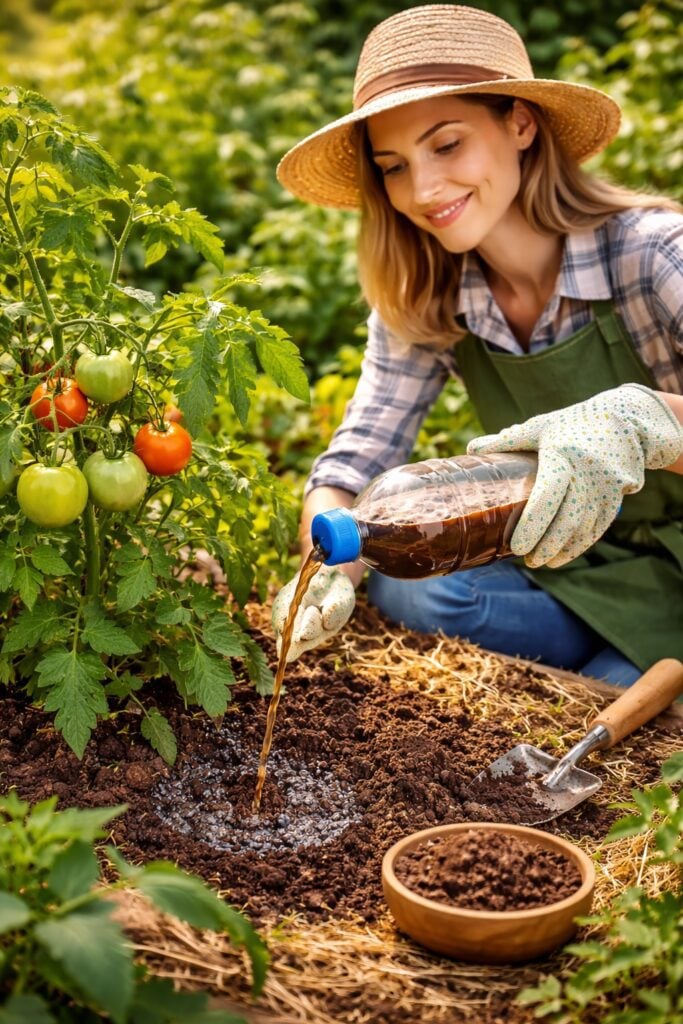
This creates a “weak tea” color that is gentle enough for even my more sensitive indoor plants.
I apply this mixture once every two weeks during the growing season. I pour it directly onto the soil at the base of the plant, avoiding the leaves. The results are usually visible within a week.
The new growth comes in stronger, and the leaves take on a glossy, healthy sheen that tells me the nitrogen is doing its job. It is particularly effective for “heavy feeders” like tomatoes, roses, and citrus trees.
Troubleshooting and Tips for Beginners
Even with a simple recipe, I’ve learned a few lessons the hard way over the years that can help you avoid common mistakes.
First, let’s talk about the smell. If your fertilizer smells like vinegar or a slightly boozy coffee, you’ve done it right. However, if it smells like rotting garbage, something went wrong—likely too much oxygen or contaminated grounds.
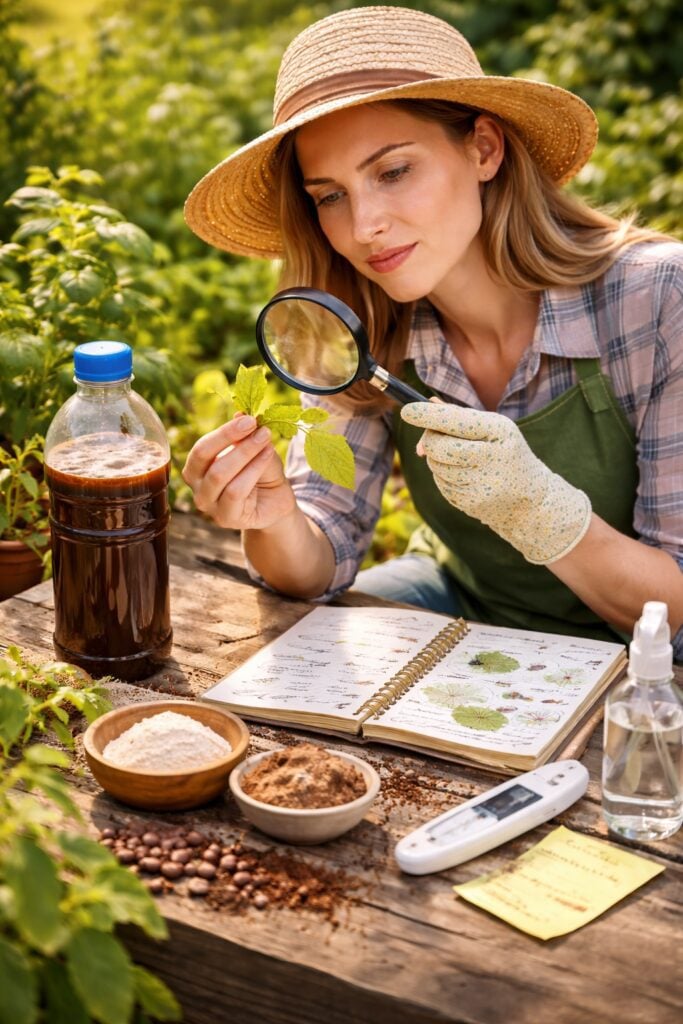
If that happens, toss it in the compost and start over.
Second, remember that coffee is naturally acidic. While most garden plants like a slightly acidic environment, avoid using this on “lime-loving” plants like lilacs or clematis. For your blueberries, azaleas, and ferns, however, this fertilizer is like a gourmet meal.
A Sustainable Future in Your Garden
Turning my kitchen waste into a high-grade liquid fertilizer has changed the way I look at “trash.”
Every time I brew a batch of this Coffee Liquid Fertilizer, I feel a sense of pride.
I am saving money, reducing waste, and providing my garden with an organic, chemical-free boost that actually works. There is something deeply satisfying about using the same coffee that wakes me up in the morning to wake up my garden.
I encourage you to try this today. Grab an old plastic bottle, save your grounds from breakfast, and start your first fermentation. Your plants will thank you with the lushest, greenest growth you’ve ever seen, and you’ll never look at a spoonful of yeast the same way again.
Happy gardening!


