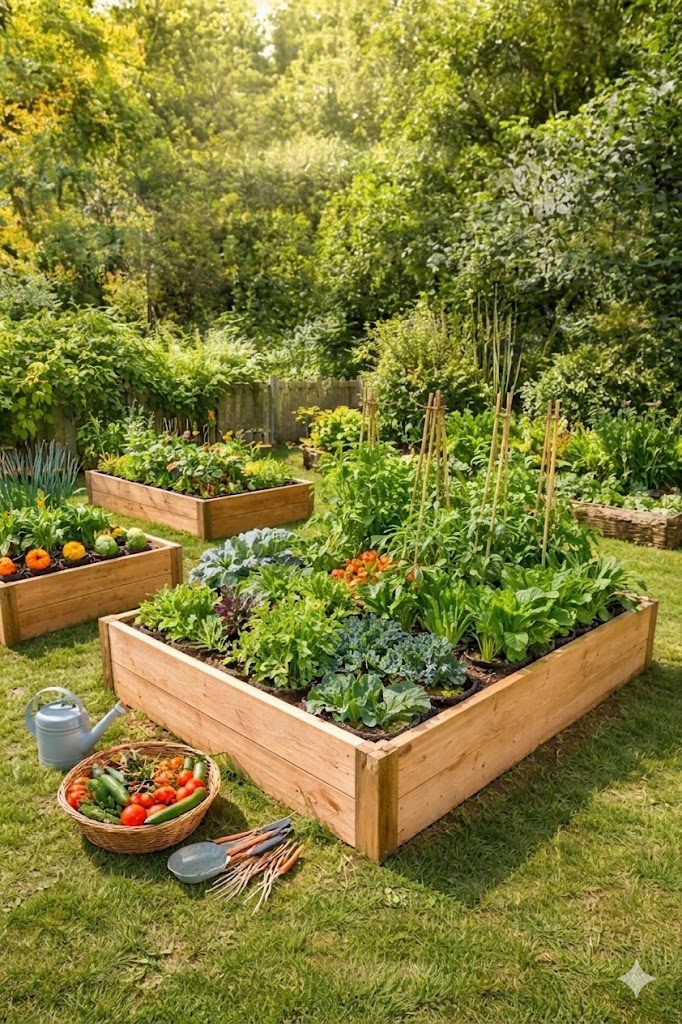
Starting a raised garden bed is one of the best ways to take your gardening skills to the next level.
Whether you’re a seasoned gardener or just starting out, understanding how to properly fill a raised garden bed is key to ensuring your plants grow healthy and strong.
Table of Contents
Why Choose a Raised Garden Bed?
Before we dive into the details of filling a raised garden bed, let’s quickly talk about why you might want to go this route.
Raised beds offer several benefits that make gardening easier and more productive:
- Better Drainage: Raised beds allow water to drain more effectively, preventing waterlogged roots and promoting healthier plants.
- Improved Soil Quality: You have full control over the soil you use, allowing you to create the ideal growing conditions.
- Pest Control: The elevated structure makes it harder for pests like slugs and snails to reach your plants.
- Extended Growing Season: The soil in raised beds warms up faster in the spring, giving your plants a head start.
With these advantages in mind, let’s move on to the important task of filling your raised garden bed.
Layer One (Weed Prevention)
The first step in filling a raised garden bed is to start with a solid foundation—this layer helps prevent weeds from sprouting up and taking over your plants.

For this, you need materials that will block weeds but still allow for proper drainage.
1. What You Need?
When setting up a raised garden bed, one of the most crucial steps is to prevent weeds from creeping up into your soil. To do this effectively, you’ll need to use materials like cardboard, newspaper, or paper bags at the bottom of your bed.
These materials act as a protective barrier, stopping weeds from growing through while still allowing water to drain freely.
Additionally, it’s essential to place your raised bed directly on the ground to ensure the soil has proper drainage and that plant roots can easily access the nutrients they need to thrive.
- Cardboard, Newspaper, or Paper Bags: These materials act as a barrier between your raised bed soil and the ground below, preventing weeds from growing up into your bed.
- Ground Level: Ensure your raised bed is placed directly on the ground. This ensures that the soil has good drainage and can be easily accessed by plant roots.
2. How to Do It?
Start by covering the entire bottom of your raised bed with layers of cardboard, newspaper, or paper bags. If you’re using cardboard, remove any tape or labels.
For newspapers, use about 5–6 layers for maximum coverage.
This will effectively block weeds from growing through, while still allowing water to drain into the soil below. Once this base layer is set, you’re ready for the next step.
Layer Two: Bulk Brown Organic Material
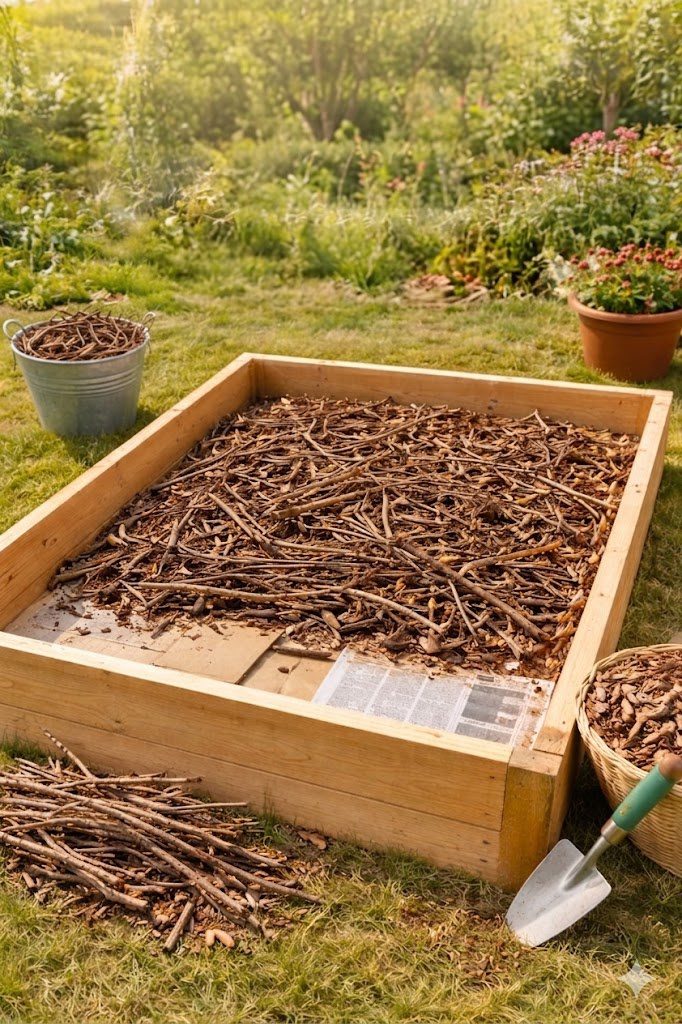
The next layer is all about building a solid structure in your garden bed. Bulk brown organic material is perfect for this. It adds nutrients, improves soil structure, and increases drainage.
1. What You Need?
To create a strong and healthy foundation for your raised garden bed, you’ll need to incorporate dried twigs, small tree branches, and mulch. Dried twigs serve as excellent bulk material, improving the soil’s structure and aeration, which helps water and air reach the roots more effectively.
Breaking small tree branches into smaller pieces creates a thicker, more nutrient-rich layer that further supports soil health.
Adding mulch on top of this layer helps retain moisture, reduces soil erosion, and breaks down over time, enriching your soil with organic matter that benefits plant growth.
This combination ensures your garden bed remains fertile and well-structured.
- Dried Twigs: These provide excellent bulk material for the soil, improving structure and aeration.
- Small Tree Branches: Break these into smaller pieces to create a thicker layer of organic material.
- Mulch: This will help retain moisture and break down over time to further enrich the soil.
2. How to Do It?
Once your weed barrier is in place, add a thick layer of dried twigs, small tree branches, and mulch. Aim for about 3–4 inches of material. This layer helps create a strong structure for your soil, allowing air and water to move freely through the bed.
As the material breaks down over time, it will turn into rich, organic compost, which benefits your plants.
Layer Three (Green Organic Plant Waste)
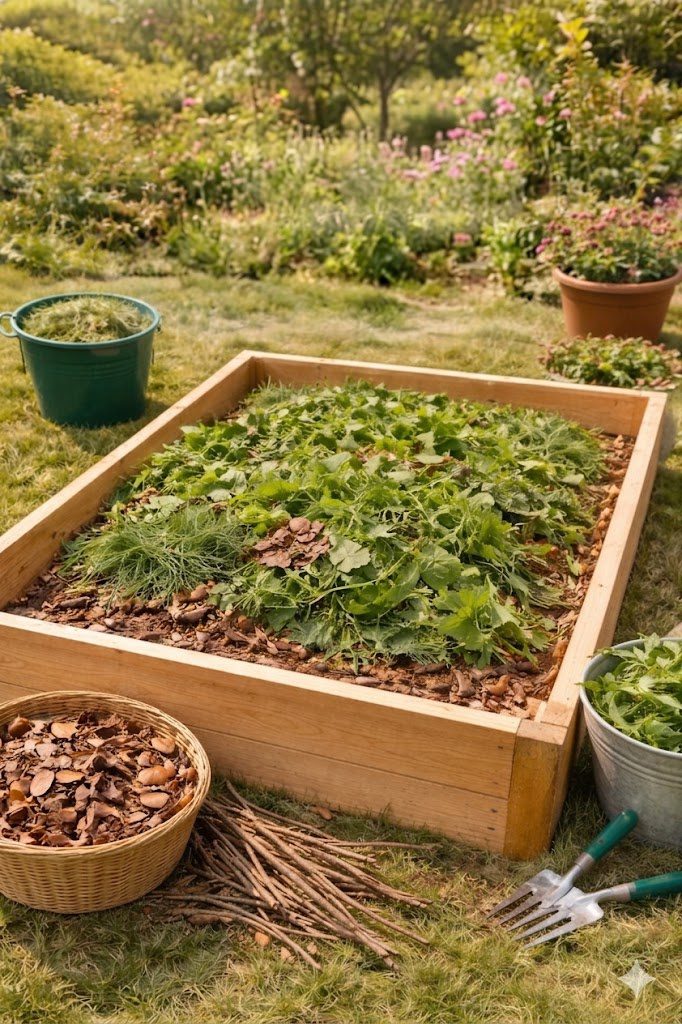
Next, we’ll add a layer of green organic materials, which are high in nitrogen and help with plant growth. This layer will break down quickly, enriching your soil with essential nutrients.
1. What You Need?
When it comes to enriching the soil in your raised garden bed, incorporating organic materials like leaves, grass clippings, pine needles, and old potting soil can make a huge difference.
Fallen leaves are a fantastic addition, providing valuable organic matter that improves soil structure.
Grass clippings add nitrogen, which is essential for healthy plant growth, while pine needles create the perfect environment for acidic-loving plants.
If you have leftover potting soil from previous plants, don’t throw it away—use it to give your bed an extra boost of nutrients. These materials work together to create a rich, fertile environment for your plants to thrive.
- Leaves: Fallen leaves are great for adding organic matter to your bed.
- Grass Clippings: These can be added as a nitrogen source.
- Pine Needles: These are an excellent addition for acidic-loving plants.
- Old Potting Soil: If you have any leftover potting soil from previous plants, add it here for additional nutrients.
2. How to Do It?
On top of the brown organic material, add a layer of green organic materials. Aim for about 2–3 inches of leaves, grass clippings, pine needles, and old potting soil.
This layer will provide the necessary nutrients for your plants to grow strong. Be sure to alternate layers of brown and green materials to create a balanced mix, which will promote healthy decomposition and improve soil fertility.
Layer Four (Soil of Choice)
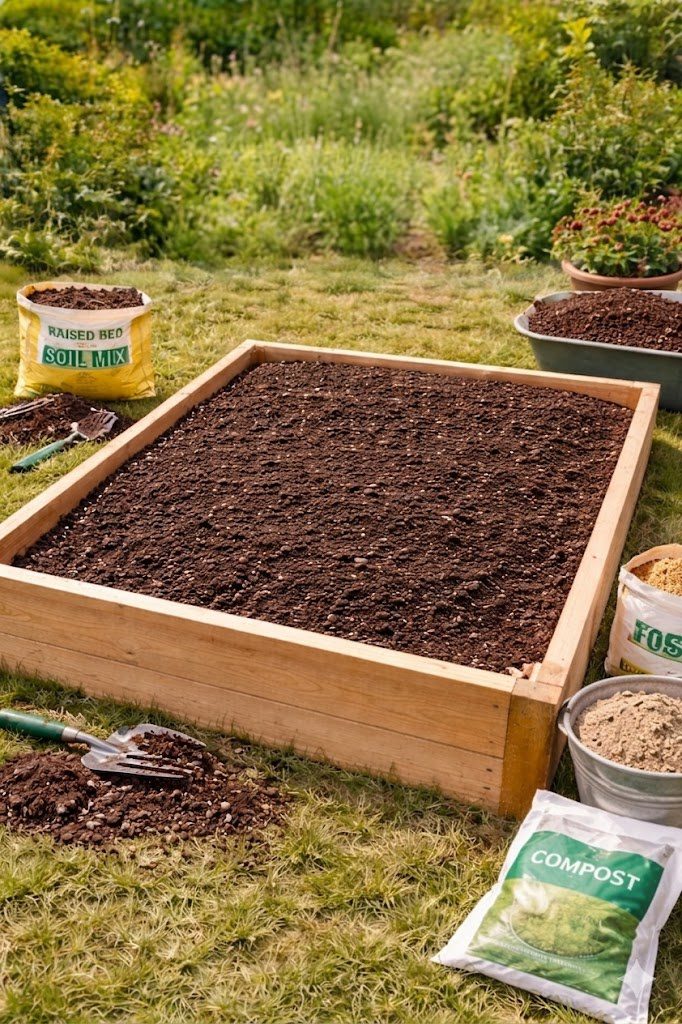
Now, it’s time for the final and most important layer: the actual soil for your raised garden bed. The right soil mix will ensure your plants thrive by providing adequate drainage, nutrients, and support for the roots.
1. What You Need?
To create the perfect soil for your raised garden bed, you’ll need a balanced mix of compost, topsoil, and sand. You can either buy a pre-made raised bed soil mix or make your own using a simple recipe: 40% compost, 40% topsoil, and 20% sand.
Compost is essential for improving soil fertility and encouraging healthy plant growth, while topsoil provides the necessary minerals and organic matter that plants need.
Sand helps ensure proper drainage, preventing the soil from becoming too compacted, which allows roots to grow freely.
This combination gives you the ideal mix for supporting thriving plants in your raised bed.
- Raised Bed Soil Mix or Loam Dirt Recipe: You can either purchase a pre-made raised bed soil mix or make your own. A good recipe is 40% compost, 40% topsoil, and 20% sand. This combination provides the ideal balance of drainage and nutrient retention.
- Compost: Always include plenty of compost to improve soil fertility and promote healthy plant growth.
- Topsoil: This forms the bulk of the soil layer and provides essential minerals and organic matter.
- Sand: Sand ensures proper drainage, preventing the soil from becoming too compacted.
2. How to Do It?
Top off your raised bed with the raised bed soil mix or the loam dirt recipe. This layer should fill the bed up to the top, leaving a few inches from the edge for watering and mulching.
Spread the soil evenly, making sure it’s well-packed but not overly compacted. This layer will provide the ultimate environment for your plants to grow.
Maintaining Your Raised Garden Bed
After your raised garden bed is filled, the work doesn’t stop there. Maintaining it is key to ensuring that your plants continue to thrive.
1. Mulching
Add a layer of mulch on top of your soil to help retain moisture, suppress weeds, and keep the soil temperature consistent. This will also help your bed stay rich in nutrients as the mulch breaks down.
2. Watering
Raised beds dry out faster than in-ground gardens, so regular watering is essential. Check the soil daily to ensure it’s moist, especially during hot weather.
Deep watering is preferred, as it encourages plant roots to grow deep and strong.
3. Fertilizing
Over time, your soil will lose some of its nutrients. To keep your plants healthy, make sure to regularly add compost and organic matter to your bed.
If you notice signs of nutrient deficiency, such as yellowing leaves, consider adding a balanced fertilizer to boost your soil.
Final Thoughts
Filling a raised garden bed correctly is essential for your gardening success. By layering organic materials, soil, and mulch in the right way, you create an ideal environment for plants to flourish.
Remember, gardening is a journey, and the more you experiment and learn, the more rewarding it becomes.
Now that you have the perfect raised bed setup, it’s time to get planting! Whether you’re growing vegetables, herbs, or flowers, your raised garden bed will provide the ideal space for them to thrive.
Happy gardening!


