Starting an indoor mushroom farm might seem like a daunting task, but with the right tools and a clear step-by-step approach, it can be both a rewarding and fun experience.
Mushrooms are relatively easy to grow indoors, and oyster mushrooms are particularly great for beginners.
Table of Contents
Materials Needed to Start Your Indoor Mushroom Farm
Starting an indoor mushroom farm can be a rewarding and cost-effective way to grow your own fresh, organic mushrooms right at home.
Whether you’re a seasoned gardener or a complete beginner, the process is relatively simple with the right materials and setup.
1. Mushroom Spawn
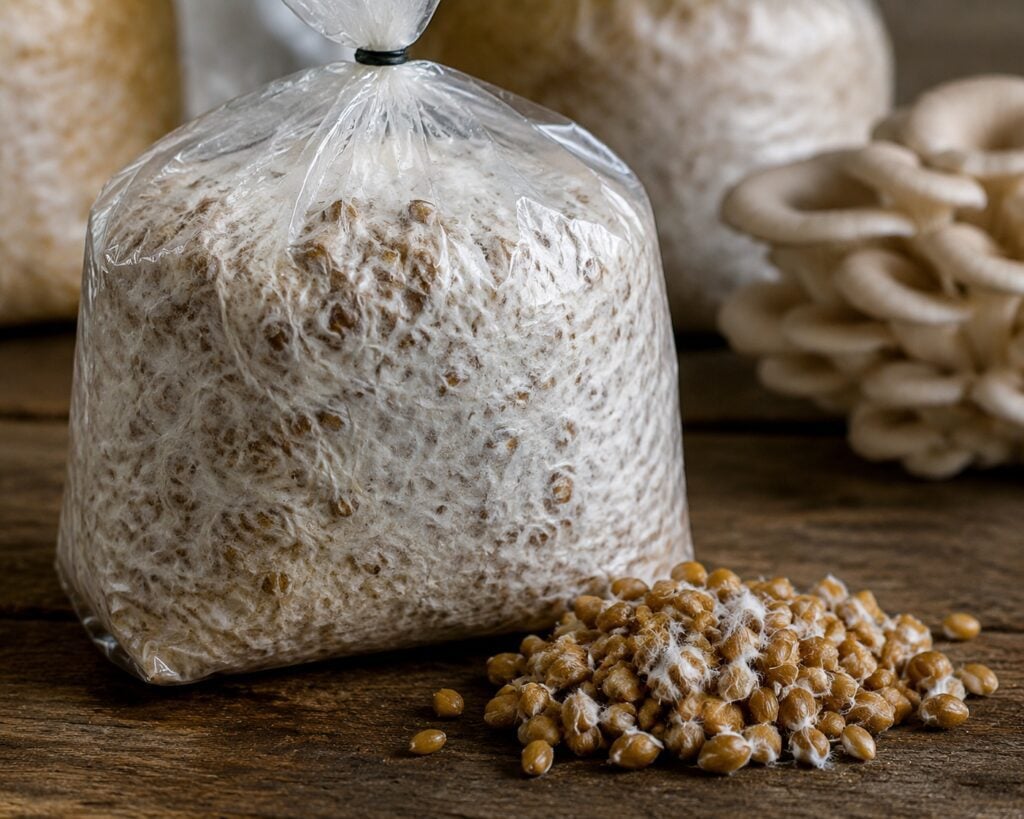
The first item on your list is the mushroom spawn, which is the “seed” for your mushrooms. For beginners, oyster mushroom spawn is highly recommended because it’s easy to work with and grows quickly.
You can find it in various forms, such as sawdust, grain, or plug spawn.
2. Substrate (Straw, Coffee Grounds, or Sawdust)
Mushrooms need a nutrient-rich environment to thrive, and the substrate provides just that. Straw, coffee grounds, or sawdust can serve as the perfect growing medium for your mushrooms.
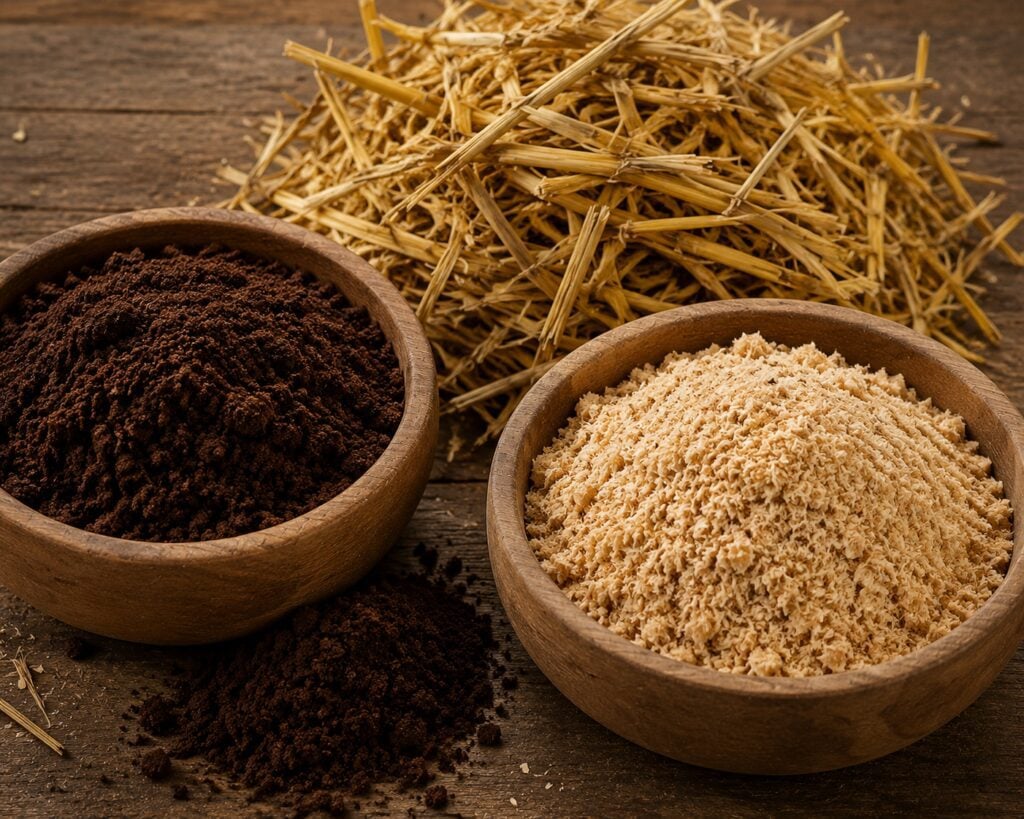
It’s important to pasteurize the substrate to eliminate any competing fungi or bacteria that might hinder mushroom growth.
Pasteurization involves heating the material to a specific temperature to kill harmful microorganisms without damaging the nutrients in the substrate.
3. Plastic Bags or Containers
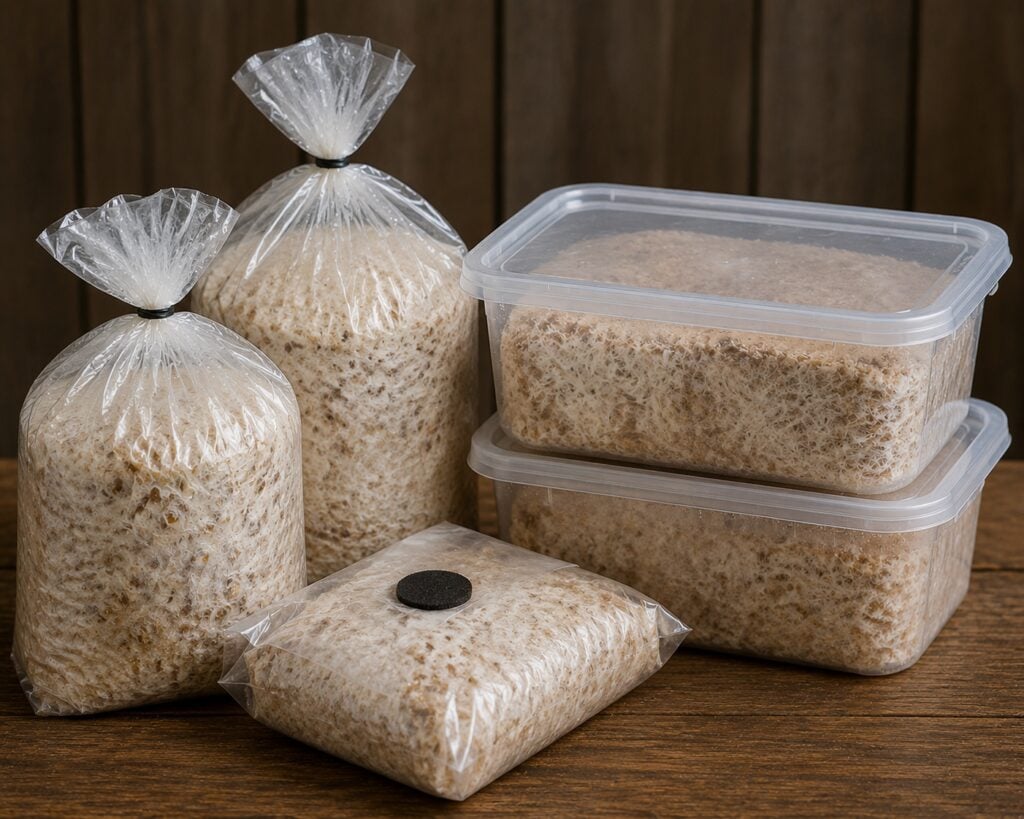
Once you’ve prepared your substrate and mixed it with the mushroom spawn, you’ll need a container to hold it all together. Plastic bags with small holes or a plastic container can work well for this.
The holes allow for proper air exchange, which is essential for mushroom growth.
4. Spray Bottle
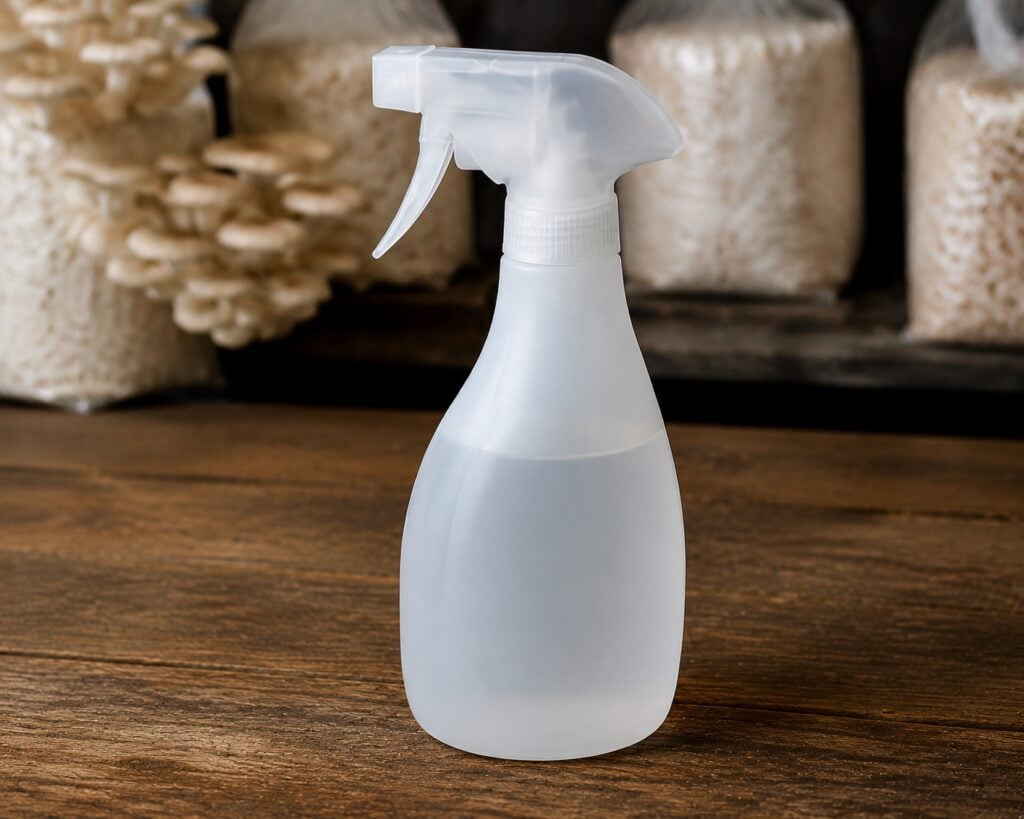
Mushrooms thrive in a moist environment, so a spray bottle is necessary to keep the substrate hydrated during the incubation period.
This helps maintain the right level of humidity to encourage the development of mushroom fruiting bodies.
Basic Setup for Your Indoor Mushroom Farm
Setting up your indoor mushroom farm requires careful attention to detail, but with the right steps, it’s easier than you might think.
The key to success lies in creating an ideal environment for your mushrooms to grow, including the right temperature, humidity, and space.
Step 1: Pasteurize the Substrate
The first major task is pasteurizing your substrate. Whether you’re using straw, coffee grounds, or sawdust, it’s essential to eliminate any unwanted organisms that could interfere with mushroom growth.
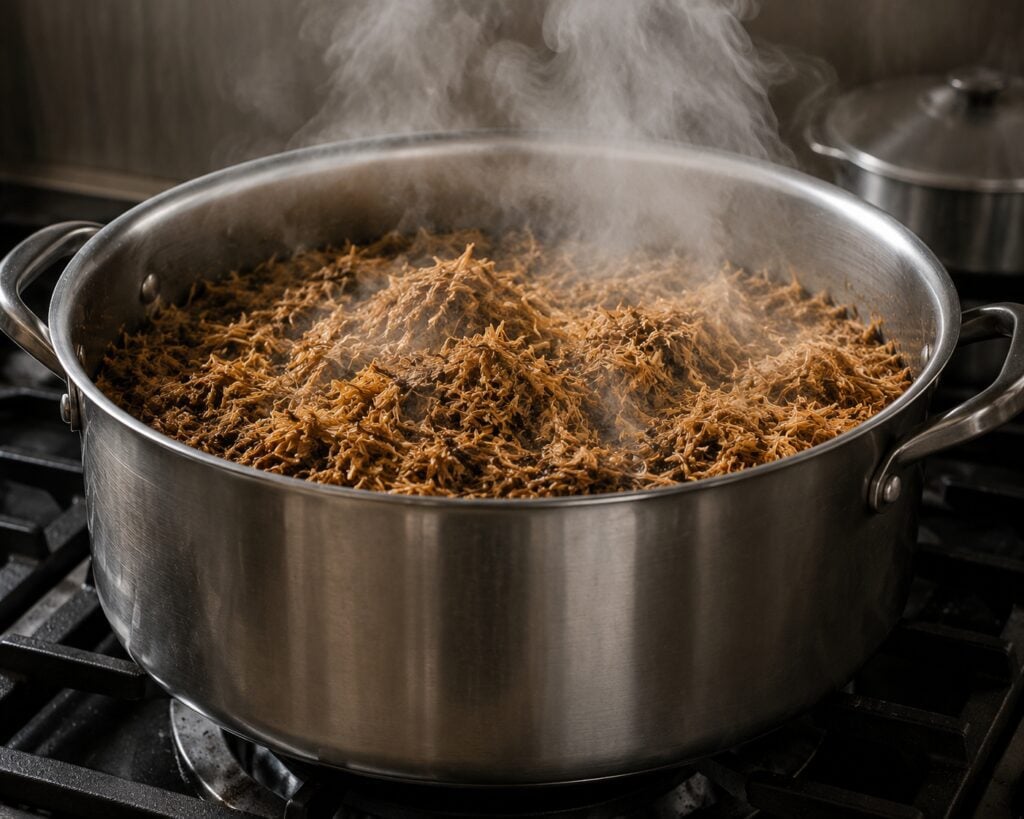
To pasteurize, heat your substrate to around 160-180°F (71-82°C) for about 30-60 minutes. This will kill any competing bacteria and fungi, creating a clean environment for your mushroom spawn to grow.
Step 2: Mix Substrate with Mushroom Spawn
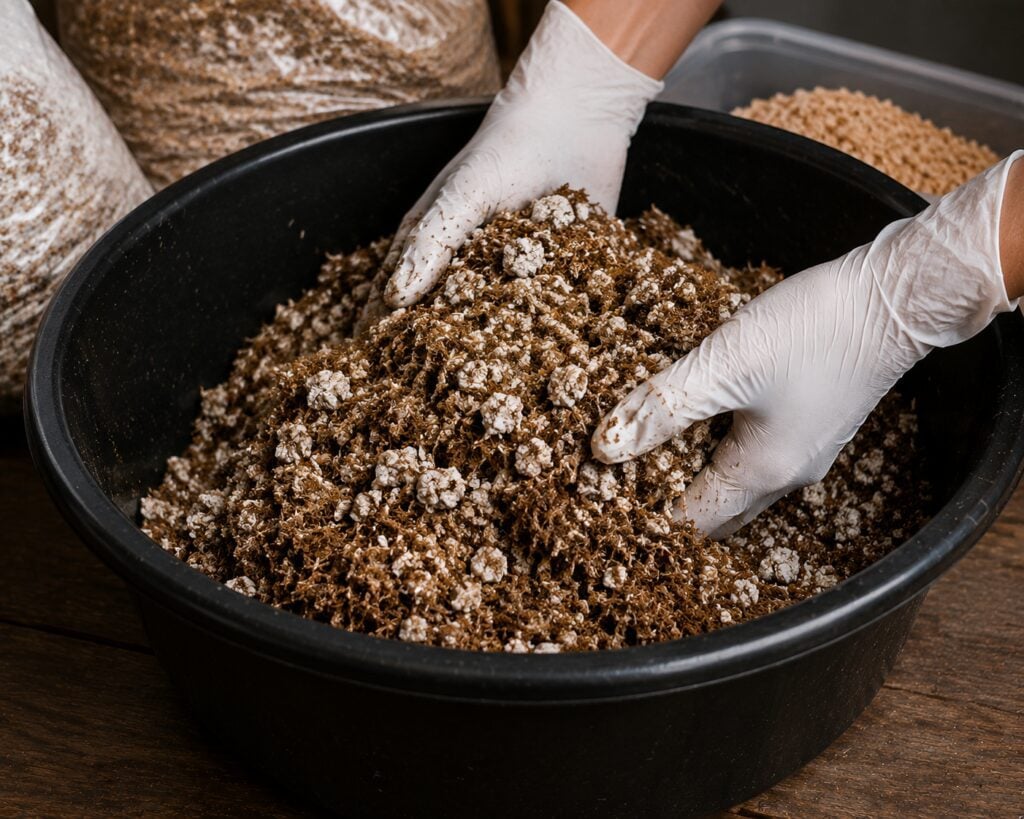
Once the substrate has cooled down to room temperature, it’s time to mix in the mushroom spawn. Make sure you evenly distribute the spawn throughout the substrate.
This process is vital as it helps the spawn colonize the substrate more effectively.
Step 3: Fill Bags or Containers
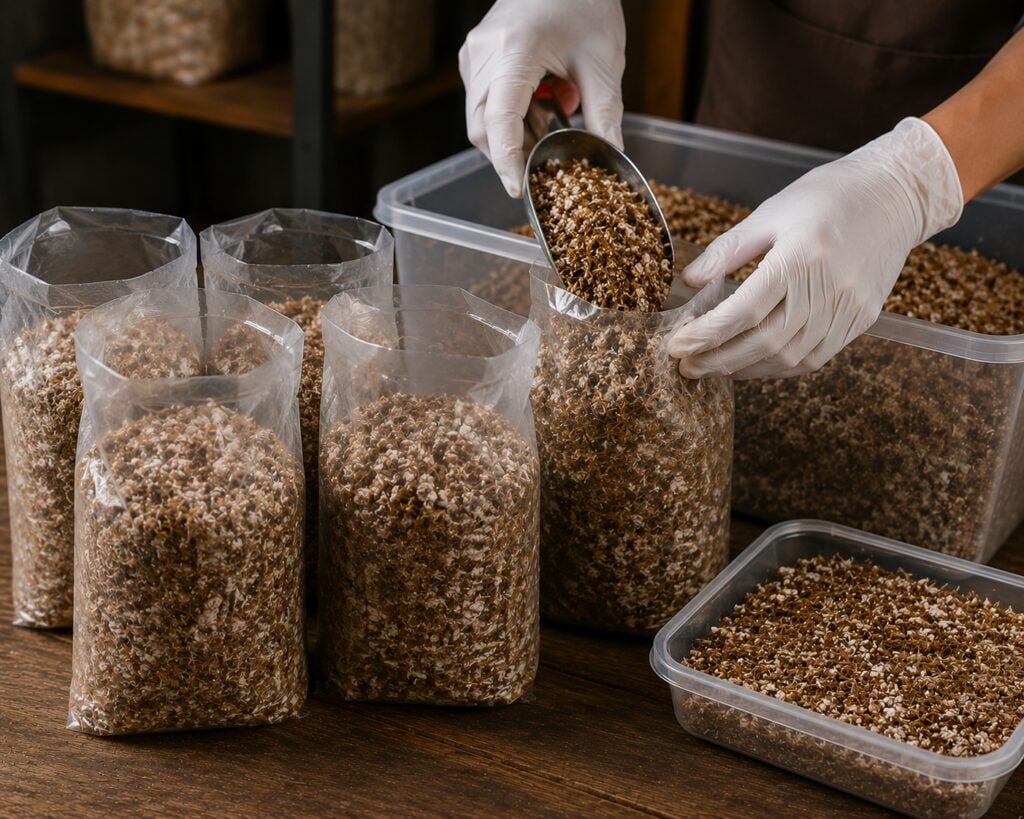
Now that your substrate is inoculated with the spawn, it’s time to fill your plastic bags or containers. If you’re using plastic bags, make sure to create small holes (using a knife or drill) to allow for air exchange.
If you’re using a container, make sure it has ventilation holes to prevent the growth of mold due to stagnant air.
Step 4: Incubate the Mixture
Place your bags or containers in a dark, warm place for 7-10 days. The temperature should be between 65-75°F (18-24°C), and you should avoid direct sunlight during this period.
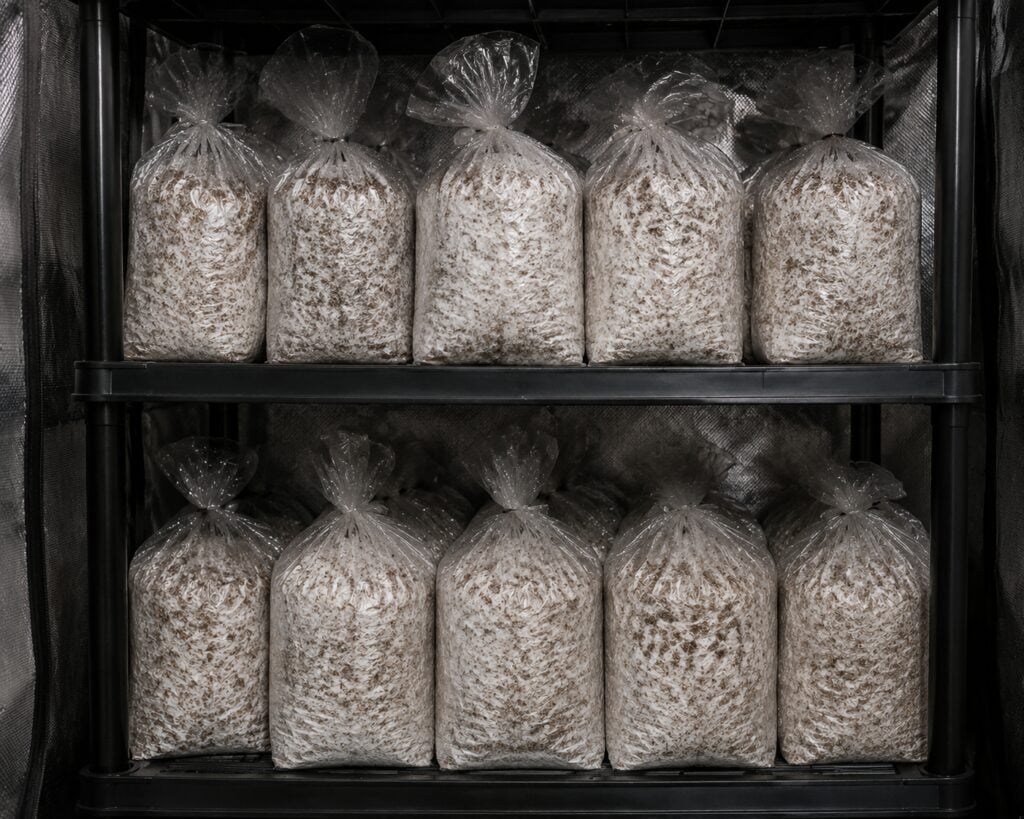
Over the next few days, the mycelium (the vegetative part of the mushroom) will begin to colonize the substrate, turning it white. This is a sign that your mushrooms are ready to start fruiting.
Step 5: Mist Daily
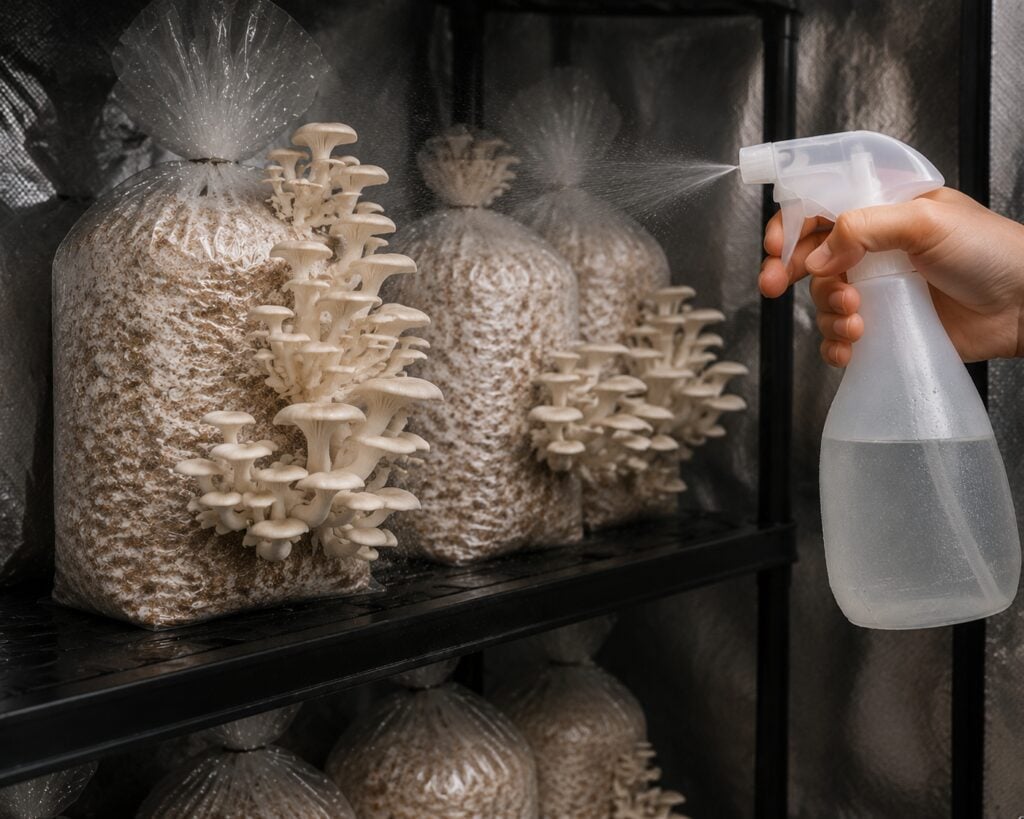
Once the substrate is fully colonized, you can start misting it with water. Mushrooms require a lot of humidity to grow, and a spray bottle can help keep the environment moist.
Spray your mushrooms twice a day or as needed to maintain high humidity levels.
Tips for Growing Healthy Mushrooms
Growing healthy mushrooms requires more than just following basic steps—it involves maintaining the right conditions and being attentive to the needs of your crops throughout the growing process.
Whether you’re a first-time mushroom grower or looking to improve your yields, there are several key tips to ensure your mushrooms thrive.
From maintaining proper humidity levels to ensuring a consistent temperature and preventing contamination, these tips will help you create the ideal environment for your mushrooms.
Let’s explore some of the best practices to promote healthy growth and a bountiful harvest.
1. Maintain Proper Humidity
Mushrooms love humidity, so it’s crucial to keep your growing environment moist. If you’re in a dry area, you might want to use a humidity tray or humidifier to maintain the proper levels.
2. Keep a Consistent Temperature
Mushrooms prefer stable temperatures. Too much heat can dry them out, and too little can stunt their growth. Keep the growing area within the optimal range of 65-75°F (18-24°C) for the best results.
3. Be Patient
Mushrooms can take a few weeks to appear after the mycelium has colonized the substrate. However, once the first mushrooms start to appear, they can grow rapidly.
Be patient and give your mushrooms time to mature.
4. Harvest at the Right Time
Mushrooms should be harvested when the caps are fully open but still firm. This usually occurs just before the edges of the caps begin to curl upward.
If you wait too long, the mushrooms will release spores, which can reduce the quality of the harvest.
Troubleshooting Common Issues
Even with careful planning and the right setup, mushroom farming can sometimes present a few challenges. Whether it’s contamination, low yields, or unexpected mold growth, troubleshooting common issues is an essential skill for any grower.
1. Contamination
If you notice any green or black spots on your substrate, this could be a sign of contamination. In this case, remove the contaminated substrate immediately to prevent it from spreading to the rest of the batch.
Cleanliness is key when growing mushrooms, so always sterilize your tools and containers before use.
2. Low Yield
If your mushrooms aren’t producing much, it could be due to insufficient humidity, temperature fluctuations, or poor-quality spawn. Check the environment, adjust as necessary, and make sure the spawn is fresh.
3. Mold Growth
Mold can sometimes develop if there’s too much moisture or poor air circulation. Make sure you’re not over-watering and that your containers have enough holes for ventilation.
Conclusion
Starting your own indoor mushroom farm is a fantastic way to grow fresh, organic mushrooms at home. With the right materials and setup, you can easily grow oyster mushrooms, one of the best varieties for beginners.
The process requires patience and care, but the reward of having a fresh supply of mushrooms at your fingertips makes it all worth it.
Whether you want to grow mushrooms as a hobby or on a larger scale, the steps outlined in this guide should give you everything you need to get started.


