I have always loved the lush, trailing leaves of pothos plants. One of the most rewarding experiences as a plant enthusiast is watching a small cutting develop roots and become a full plant.
Propagating pothos is one of the simplest ways to expand your indoor garden without spending a fortune.
If you’re new to indoor gardening or simply love having lush, green plants at home, learning how to propagate pothos is a rewarding skill to master.
Pothos are not only low-maintenance and resilient, but they also grow quickly from a single cutting when propagated correctly.
Table of Contents
Understanding Pothos Nodes
Before we dive in, it’s important to understand what nodes are. Nodes are the small bumps along the stem where leaves and roots grow. In my experience, these nodes are the magic spots that allow new roots to sprout.
You can see them clearly in the image I’m referencing; each node can produce a new plant if placed correctly in water.

When I first learned about nodes, I used to cut random segments of my pothos and hope for the best. But focusing on the nodes dramatically increased my success rate.
Always identify at least one node per cutting; it’s the root-growing powerhouse.
Selecting the Right Cutting
Not all pothos cuttings are created equal. I’ve found that a 4–6 inch segment with at least two leaves and one node is ideal. Avoid stems that are too thin or too old; younger, flexible stems tend to root faster.
Here’s my step-by-step approach:
- Use clean, sharp scissors or pruning shears.
- Cut just below a node to ensure the new cutting can sprout roots.
- Remove any leaves near the bottom that would be submerged in water to prevent rot.
By taking a careful, deliberate cutting, you set yourself up for propagation success.
Preparing the Water for Rooting
Once I have my cuttings, I place the nodes in a small glass of water. I prefer using filtered or room-temperature water to prevent chlorine from slowing down root growth.
The water should cover the node but not the leaves. If leaves touch the water, they often rot quickly.
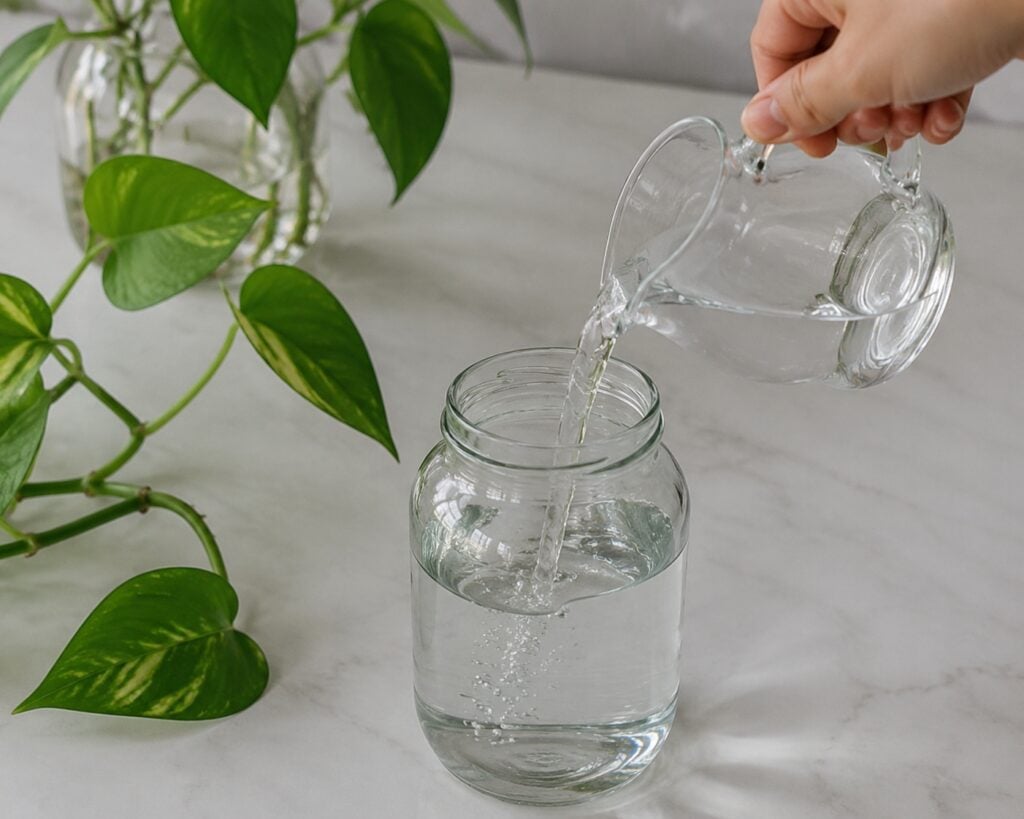
Changing the water every 3–5 days keeps it fresh and free from bacteria, which I’ve learned can kill delicate new roots. Patience is key here; roots usually begin to appear within 2–4 weeks, depending on light and temperature.
Finding the Perfect Light
Light is crucial for healthy root development. I keep my pothos cuttings in bright, indirect light. Direct sunlight can scorch the tender stems, while too little light slows down growth significantly.
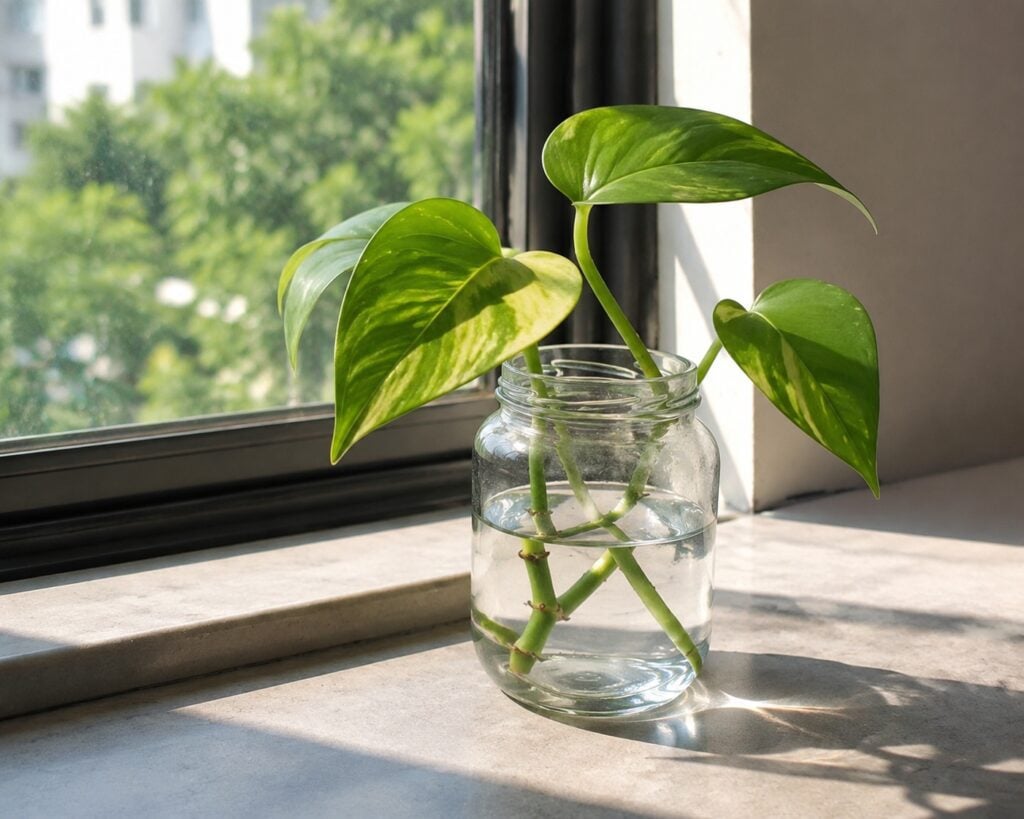
I like placing mine near an east-facing window or under fluorescent lights if natural light is limited.
I’ve noticed that plants in consistently bright spaces tend to develop thicker, stronger roots faster than those in darker corners of the house.
Transferring to Soil
Once the roots are around 1–2 inches long, it’s time to transfer the cutting to soil. I usually use a well-draining potting mix.
Here’s what works best for me:
- Fill a small pot with a mix of potting soil and perlite to improve drainage.
- Make a hole deep enough to place the roots without bending them.
- Gently place the cutting into the hole and firm the soil around it.
I water lightly after planting and keep the soil consistently moist, but not soggy. Overwatering is one of the biggest mistakes I see new plant parents make at this stage.
Caring for Your New Pothos
After planting, new pothos cuttings require patience and care. I usually avoid fertilizing for the first month, letting the plant adjust to its new environment.
Maintaining consistent humidity and avoiding drafts helps reduce stress on the young plant.

Over time, I’ve learned to watch for the signs of a happy cutting: bright, green leaves and steady growth. Any yellowing or drooping usually signals too much water or low light.
Common Mistakes and How to Avoid Them
During my propagation journey, I’ve learned from mistakes. Here are some tips:
- Cutting without a node: Always include a node; it’s where roots grow.
- Submerging leaves: Only the node should be in water to prevent rot.
- Using dirty scissors: Sterilize your tools to prevent infections.
- Rushing the transfer: Wait until roots are strong before planting in soil.
By avoiding these pitfalls, I’ve managed to achieve nearly a 90% success rate with pothos cuttings.
Advantages of Propagating Pothos
Propagating pothos is not just a way to expand your plant collection; it has additional benefits:
- Cost-effective way to multiply plants.
- Perfect gift for friends and family.
- Helps rejuvenate older plants by pruning and propagating healthy stems.
I love giving cuttings to friends; it’s incredibly satisfying to see them thrive in someone else’s home.
Tips for Long-Term Success
From my experience, the following tips ensure long-term propagation success:
- Keep experimenting with different nodes; some root faster than others.
- Track the progress of your cuttings in a journal or photo log.
- Consider propagating in groups; multiple cuttings increase the chance of success.
- Adjust water and light as the cutting grows.
Following these simple steps, even beginners can grow healthy, vibrant pothos plants from a single cutting.
Final Thought
Pothos propagation is an enjoyable, rewarding process. By focusing on nodes, choosing the right cuttings, providing fresh water, and giving the new plant proper light and care, I’ve successfully grown dozens of pothos from a single plant.
It’s satisfying to watch roots sprout and know that with a little patience and attention, you can create new life from something so simple.
I encourage every plant enthusiast to try propagating pothos. It’s a small project that yields big rewards and brings the joy of growing indoors to your home.


